Five days at Stanford: microfluidic traps and fish-eye lenses

Schistosomiasis affects more than 200 million people, and diagnosis is often limited by cost, infrastructure, and access to labs and microscopes. So we spent a week trying to engineer around all three.
Our goal was frugally engineered diagnostic tools built on basic physics and widely available materials: field-ready microscopy with reusable, portable parts, at low cost and with minimal waste, ideally in time for our pilot study in Ogun State this summer. It started with a 3D-printed slide.
A microfluidic slide for the Foldscope
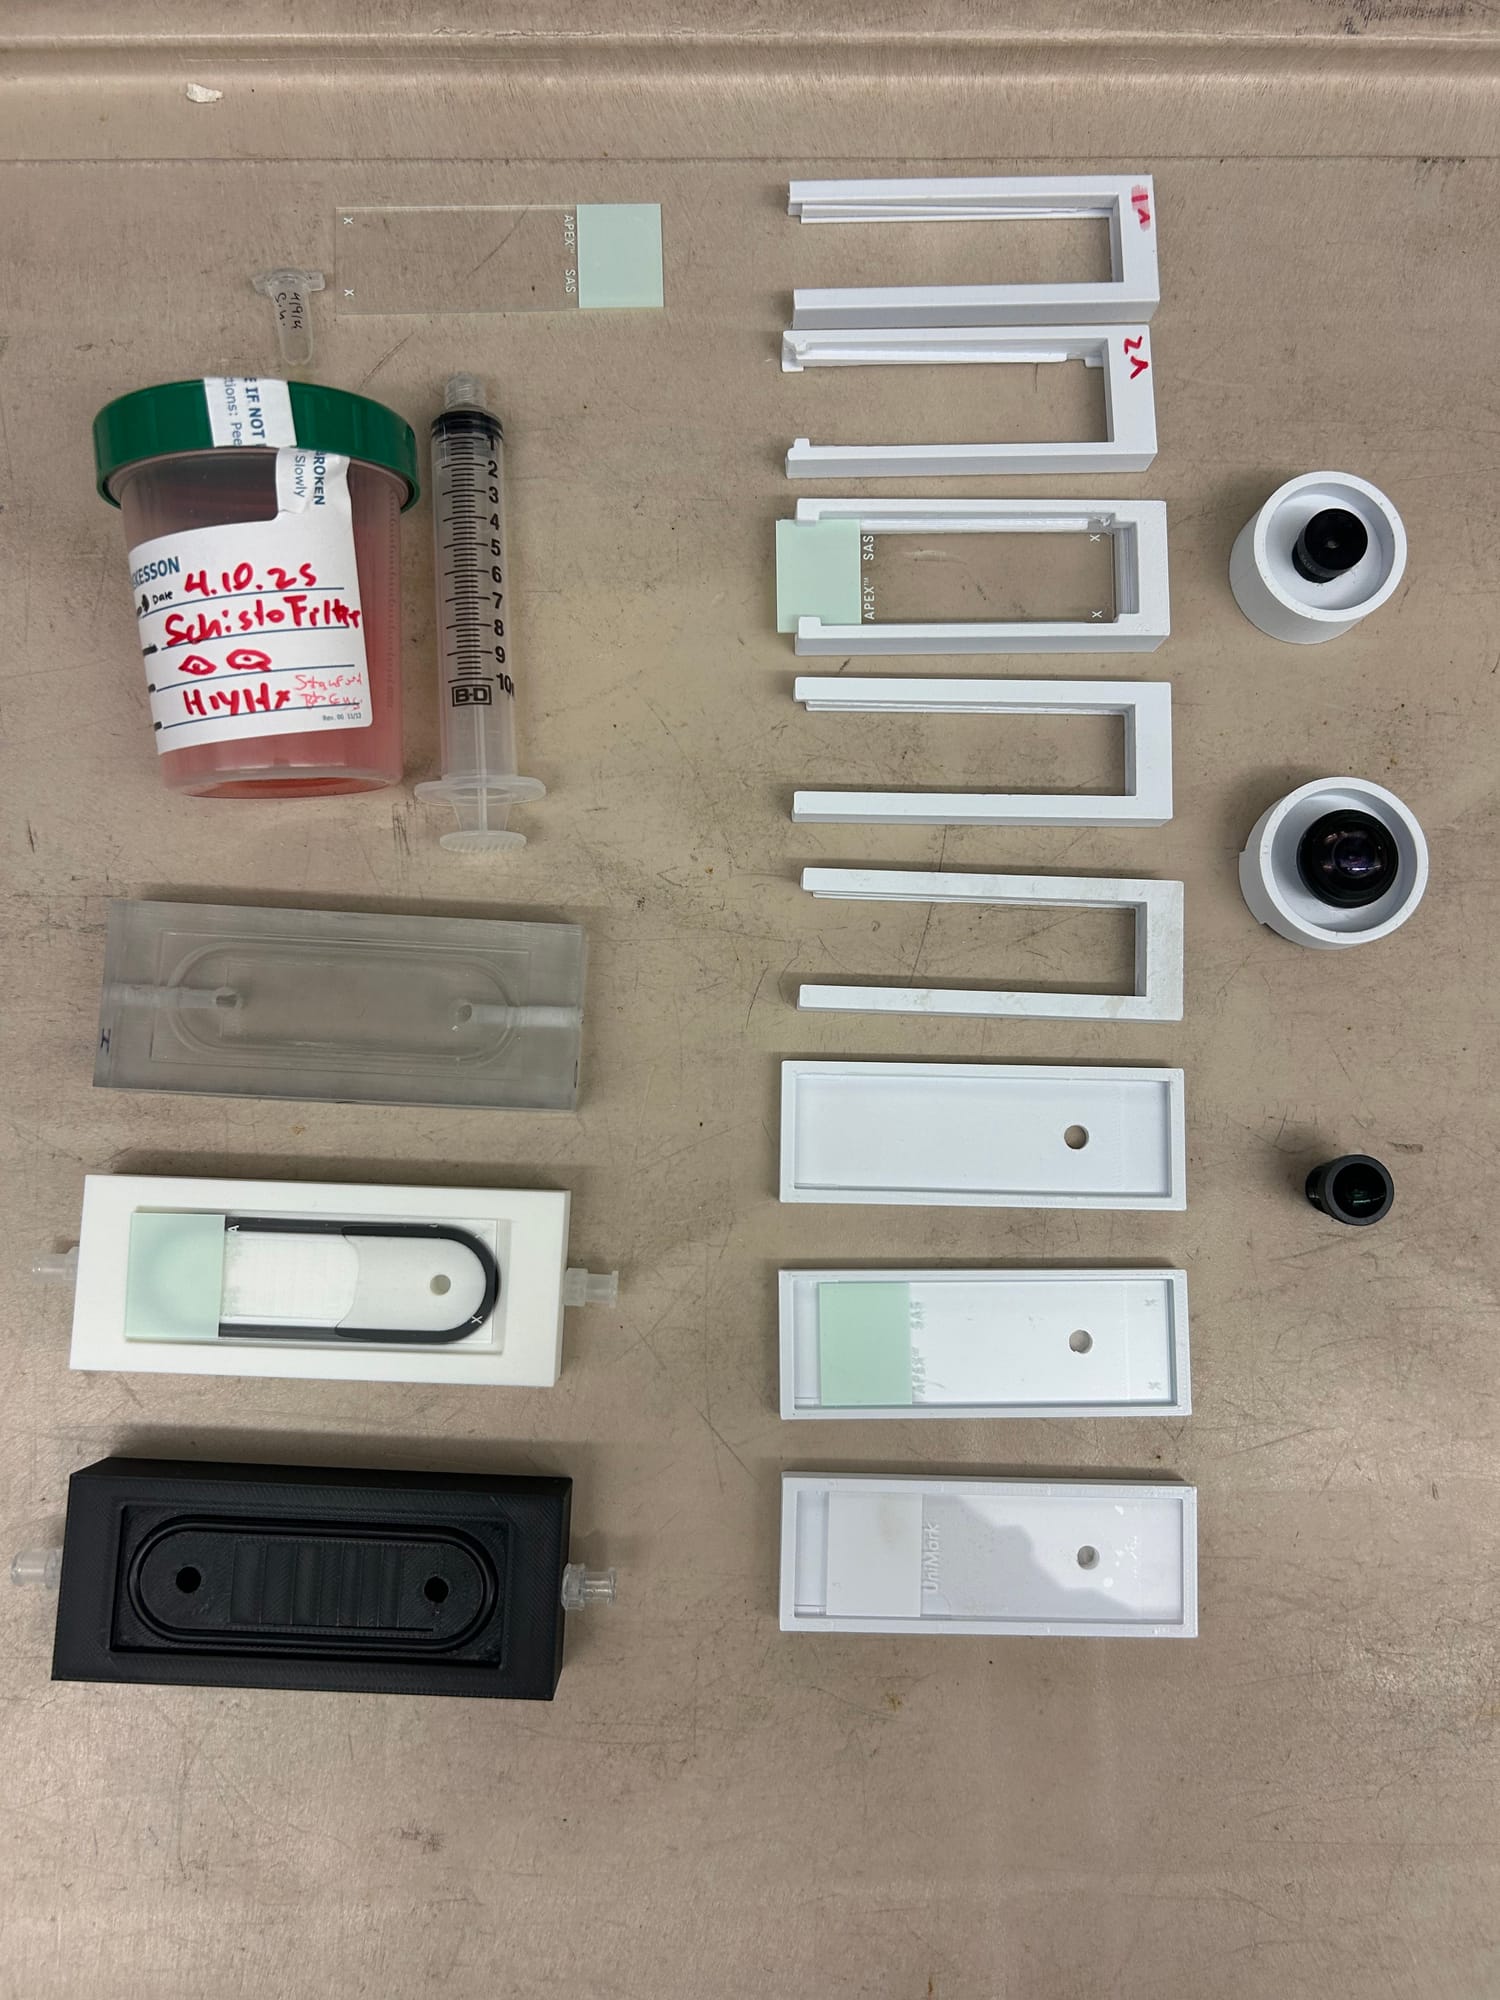
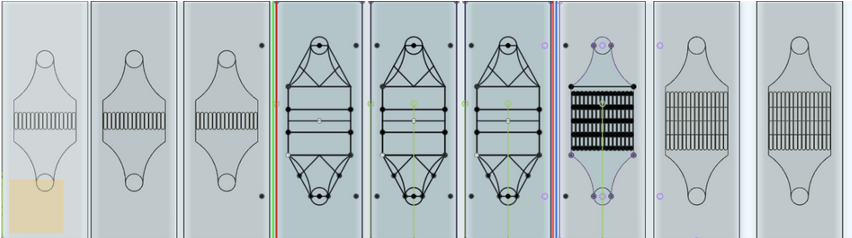
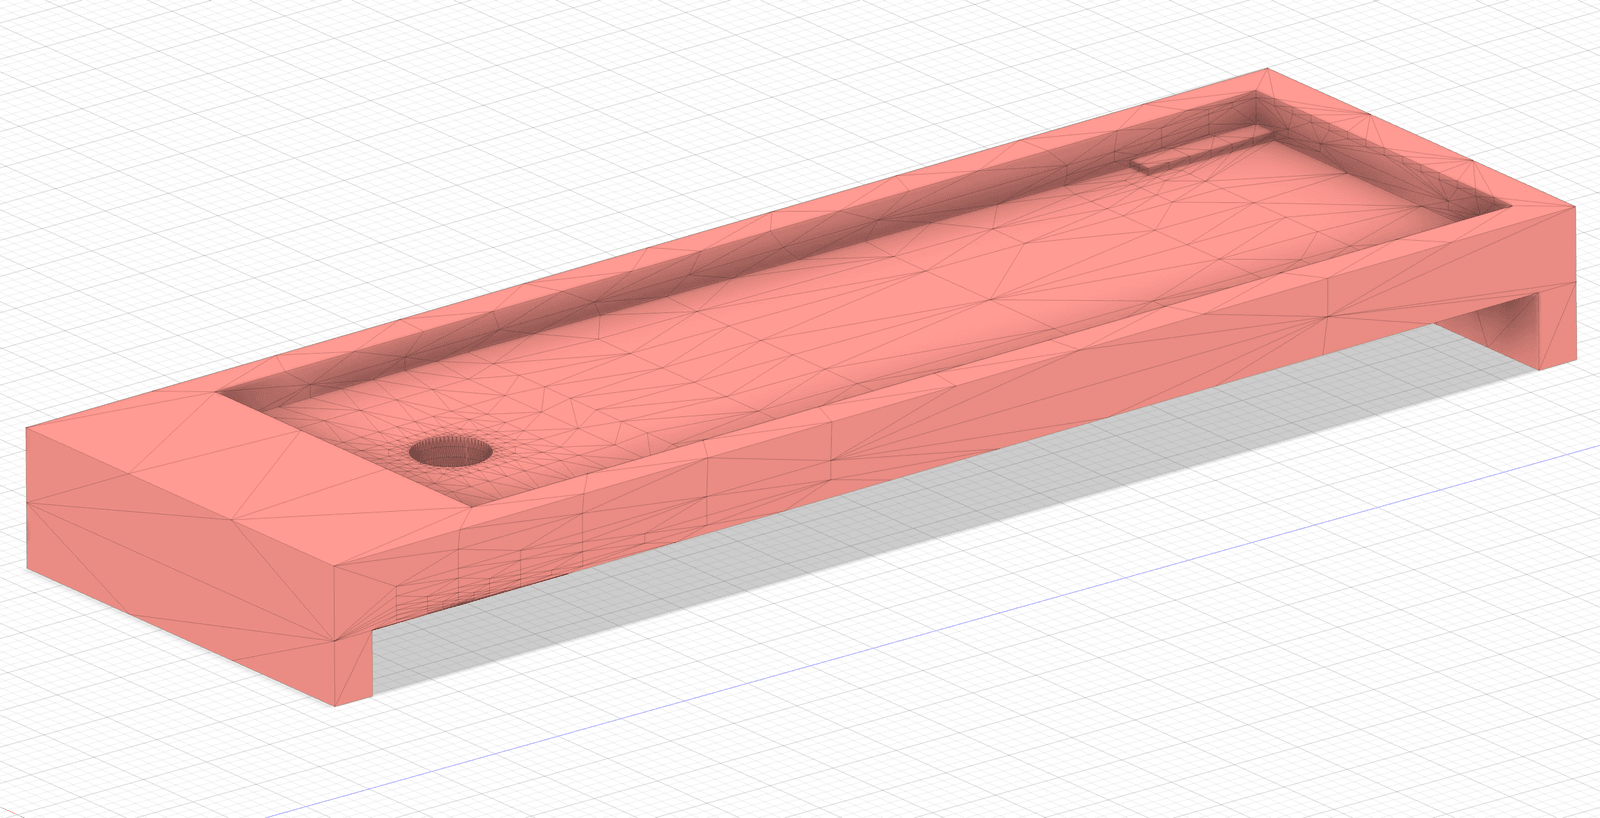
In early April we printed a first look at a microfluidic slide in clear resin, adapted from a published microfiltration device for urogenital schistosomiasis (Xiao et al., 2016) and redesigned to fit the Foldscope’s back focal length. The idea: trap parasite eggs from urine in a channel thin enough to image through a paper microscope. We also printed a “stair-step” design explored in a recent preprint, and Jon Beaubrun had the idea to combine the stair step with the channel design.
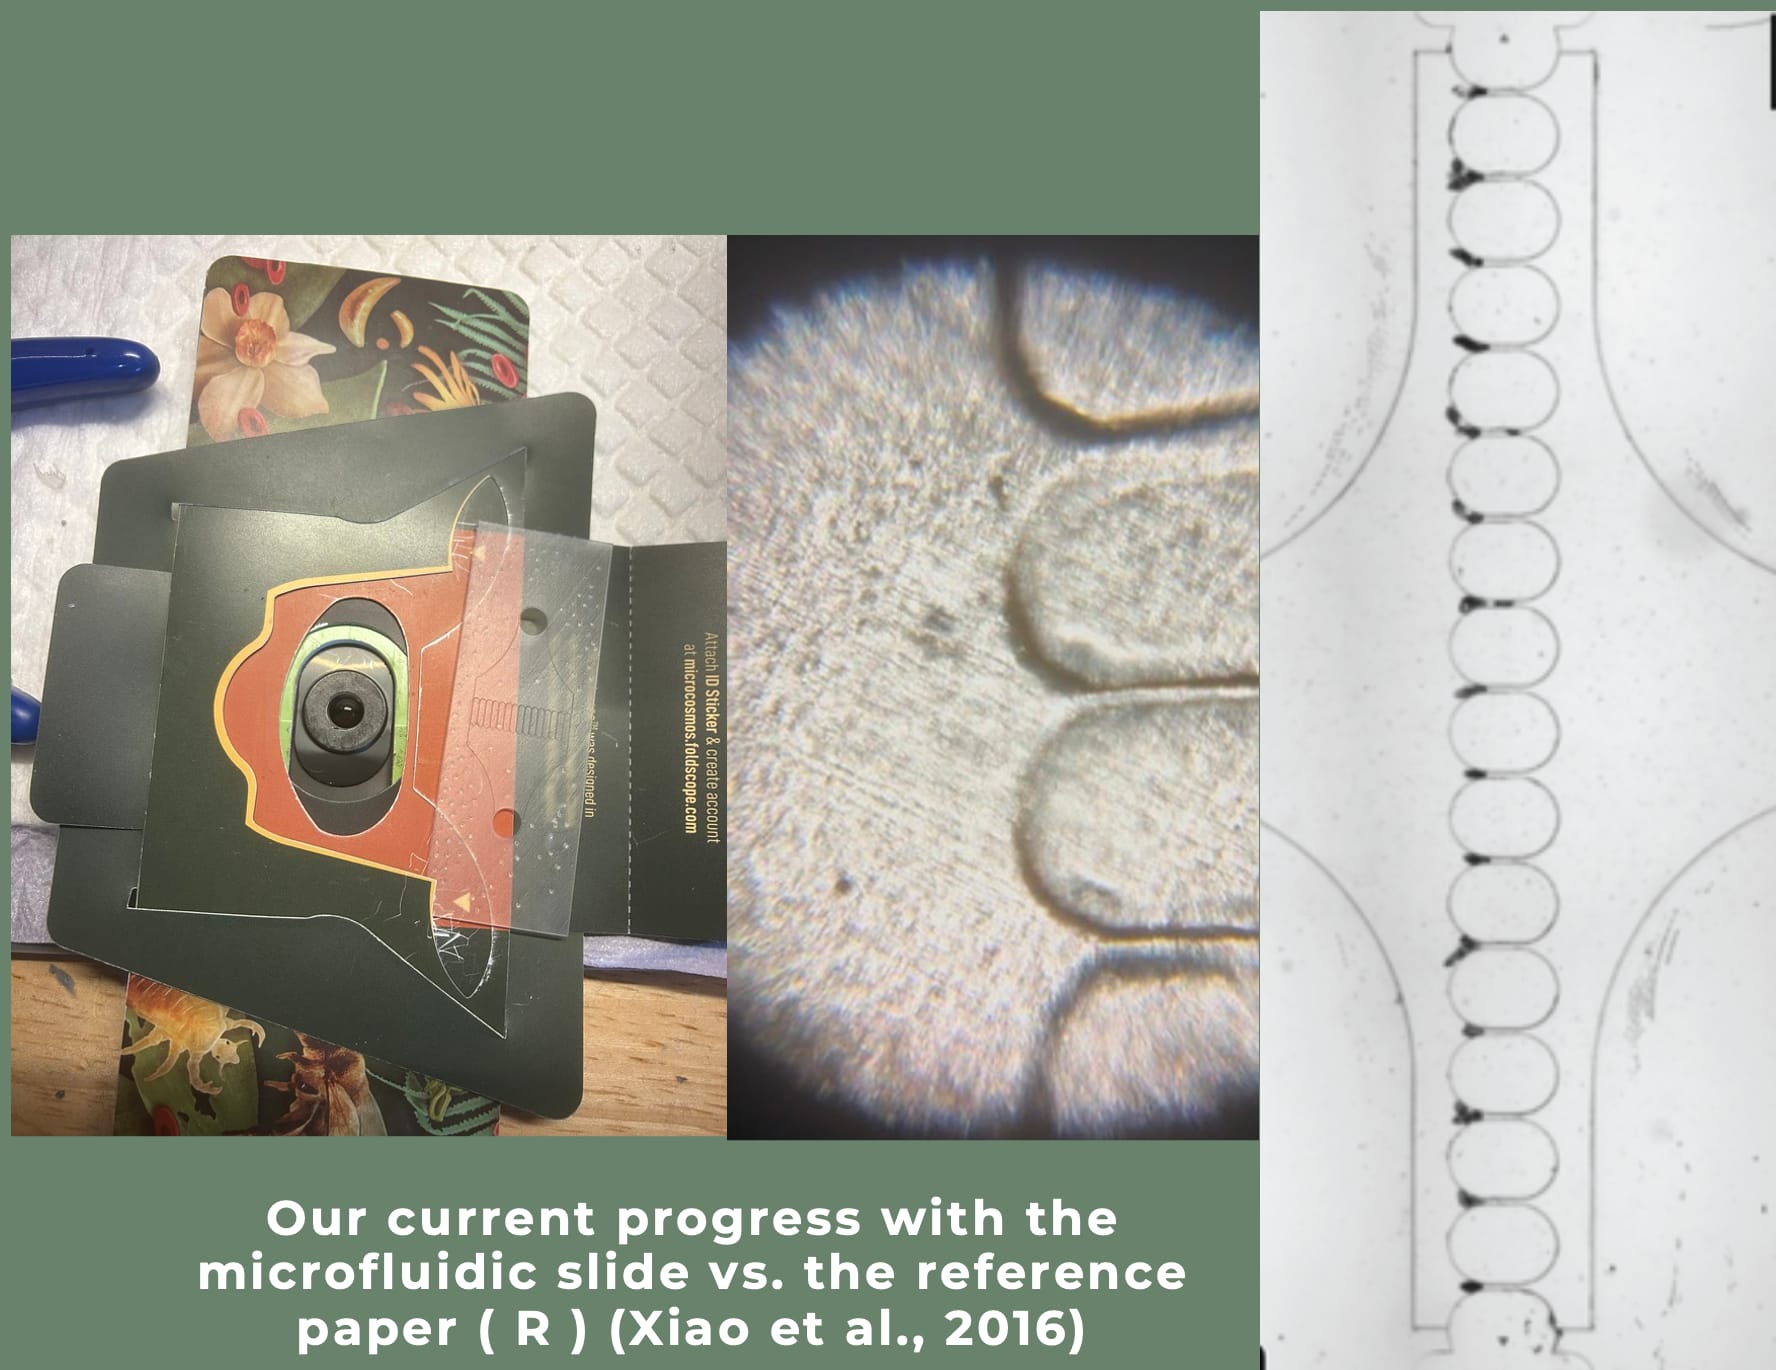
Five days in the Prakash Lab
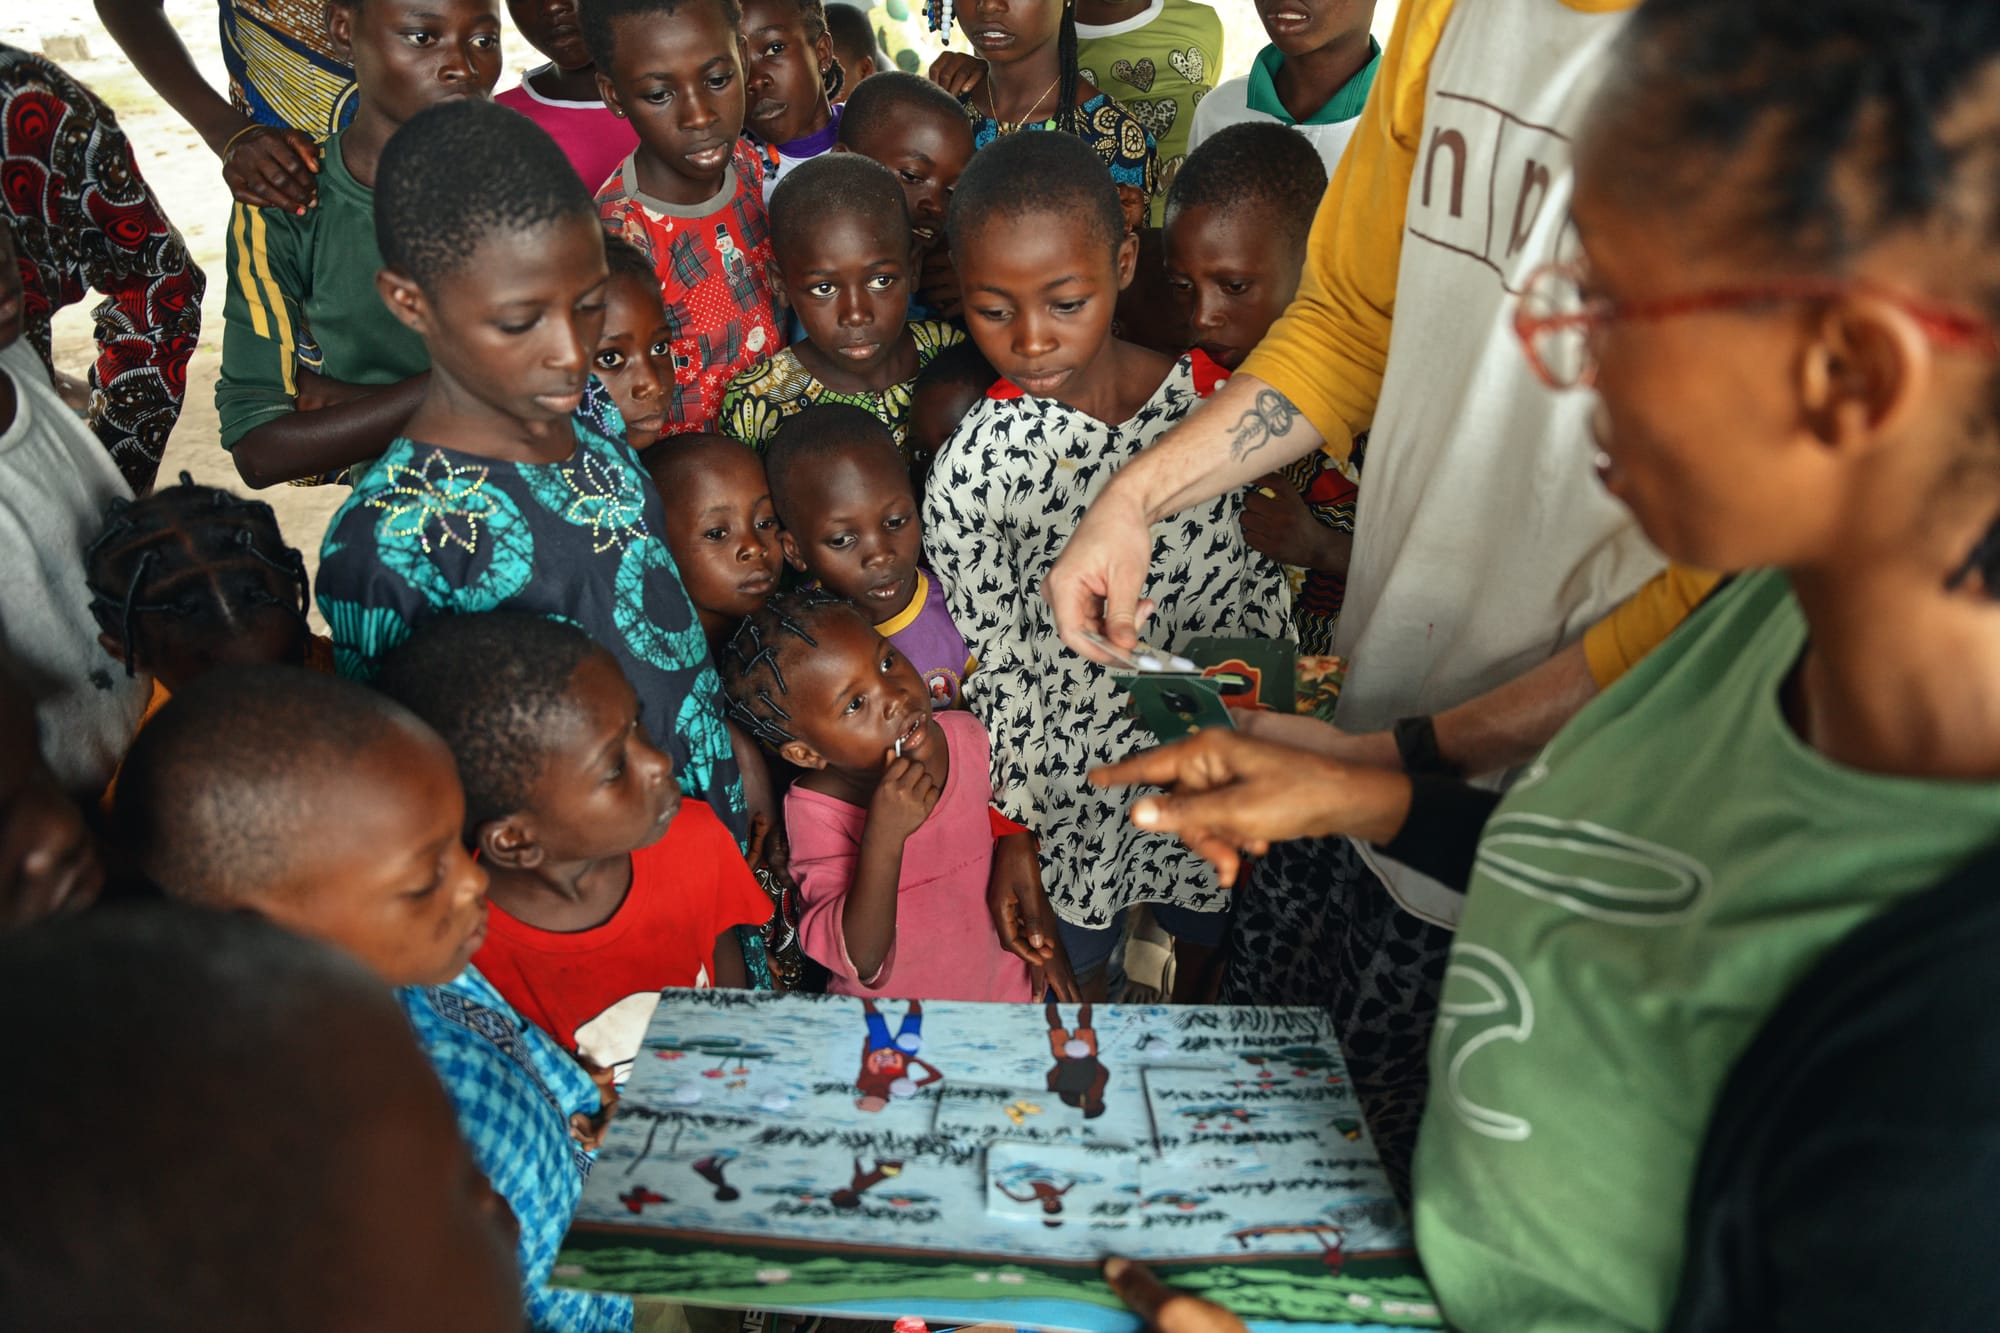
From April 7 to 11, our team visited Dr. Manu Prakash’s lab at Stanford Bioengineering. We worked closely with Dr. Jim Cybulski (Foldscope co-inventor and CEO) and Anesta Kothari on prototypes for urine sample prep and egg viewing. On arrival, we had the honor of joining Dr. Prakash’s Frugal Science course and sharing our project, and we talked through malaria and schistosomiasis as global-health problems that need innovative One Health solutions.
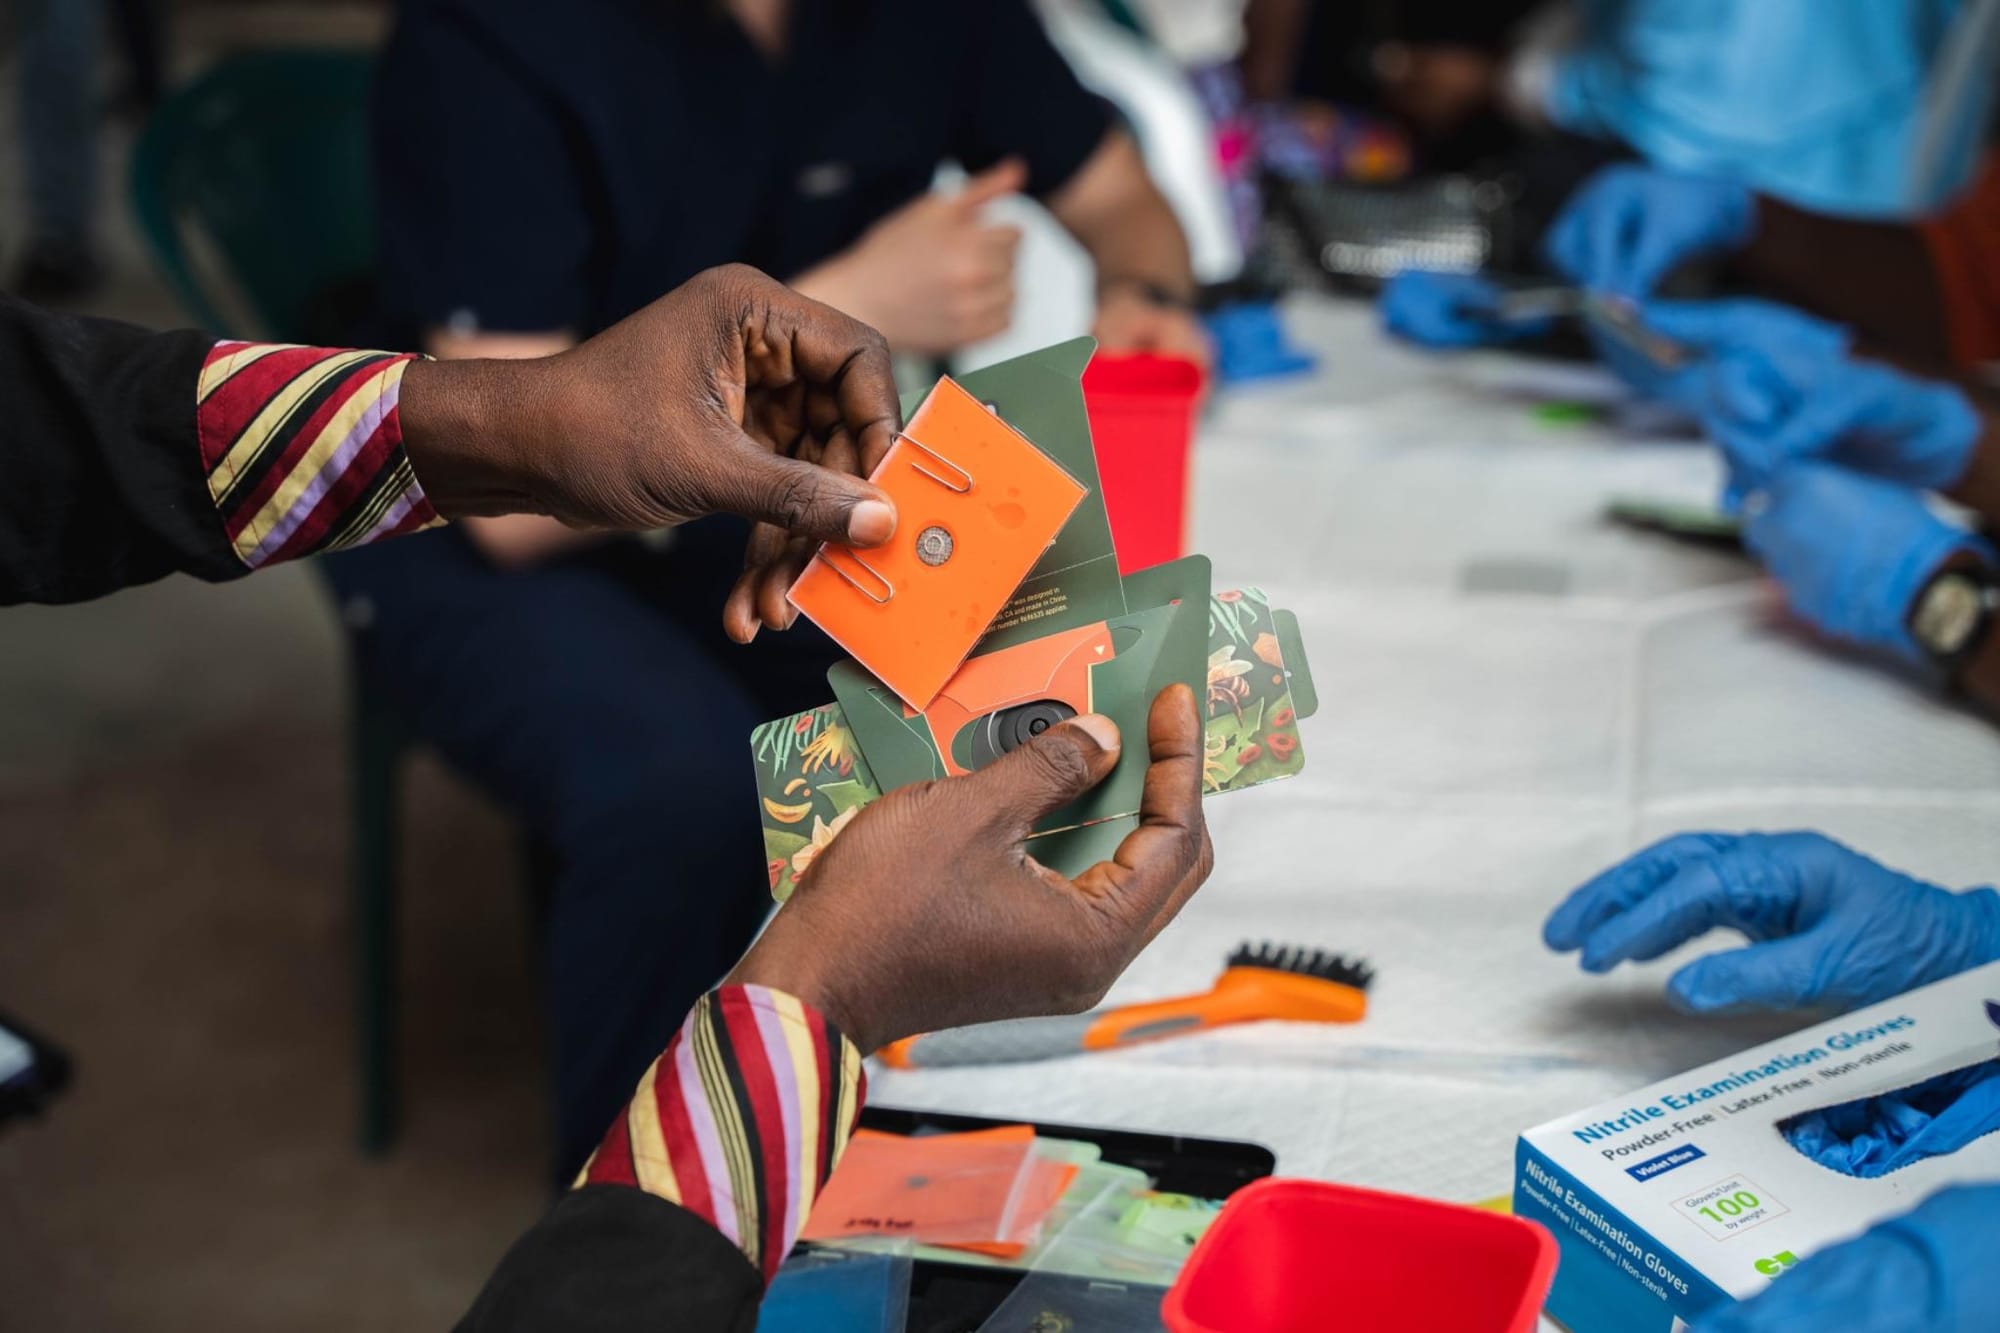
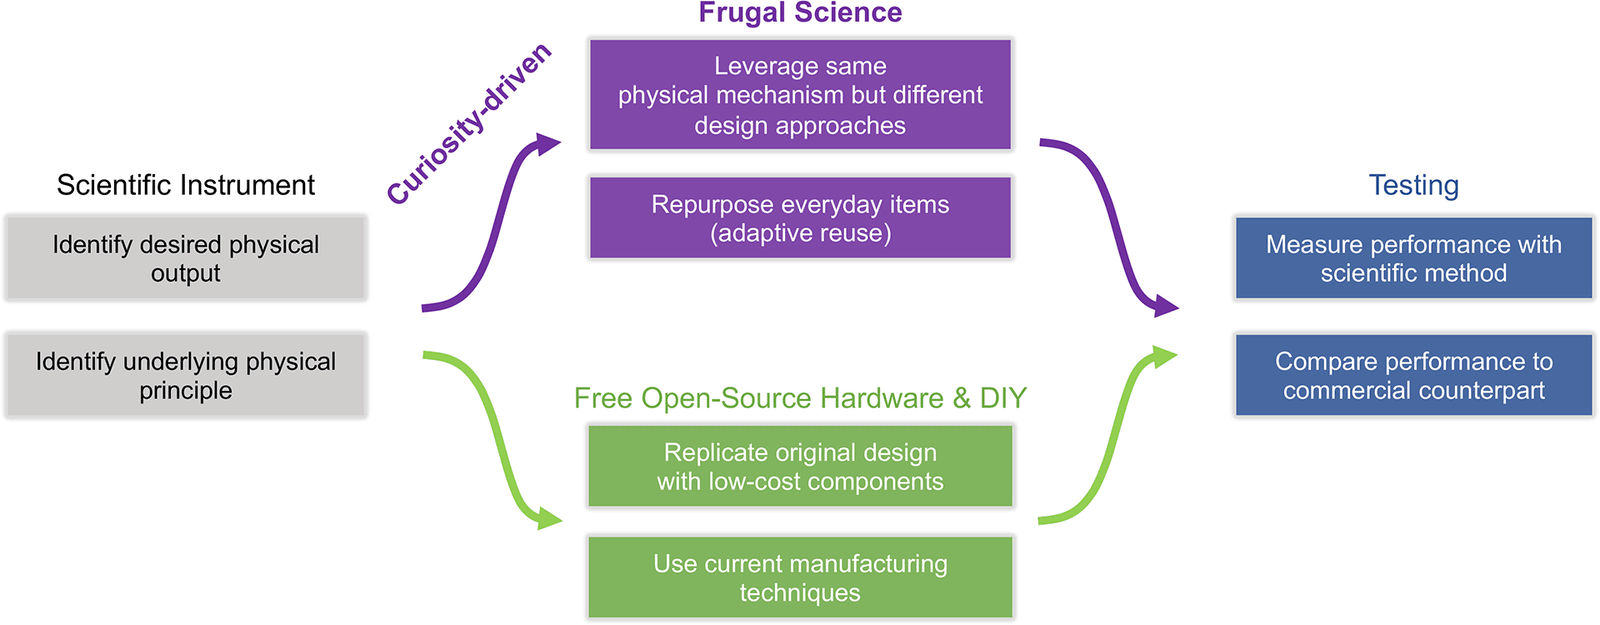
Frugal science is a creative way to discover new uses for everyday objects, guided by curiosity. The world is full of items with untapped potential: paper, binder clips, camera lenses, children’s toys — all of them can become bioengineering tools. In a world with shrinking foreign aid for regions battling infectious disease, that kind of creativity is urgently needed.
A wedge and a staircase
We built two prototypes that both use a single, reusable glass microscope slide as the filtration interface. The trick came from an article on using the z-axis in 3D structures: fine features in the x–y plane (channels under 30 microns) are hard to print, but in the z-axis, a slant or a stair step can open a gap just small enough to trap schistosome eggs.
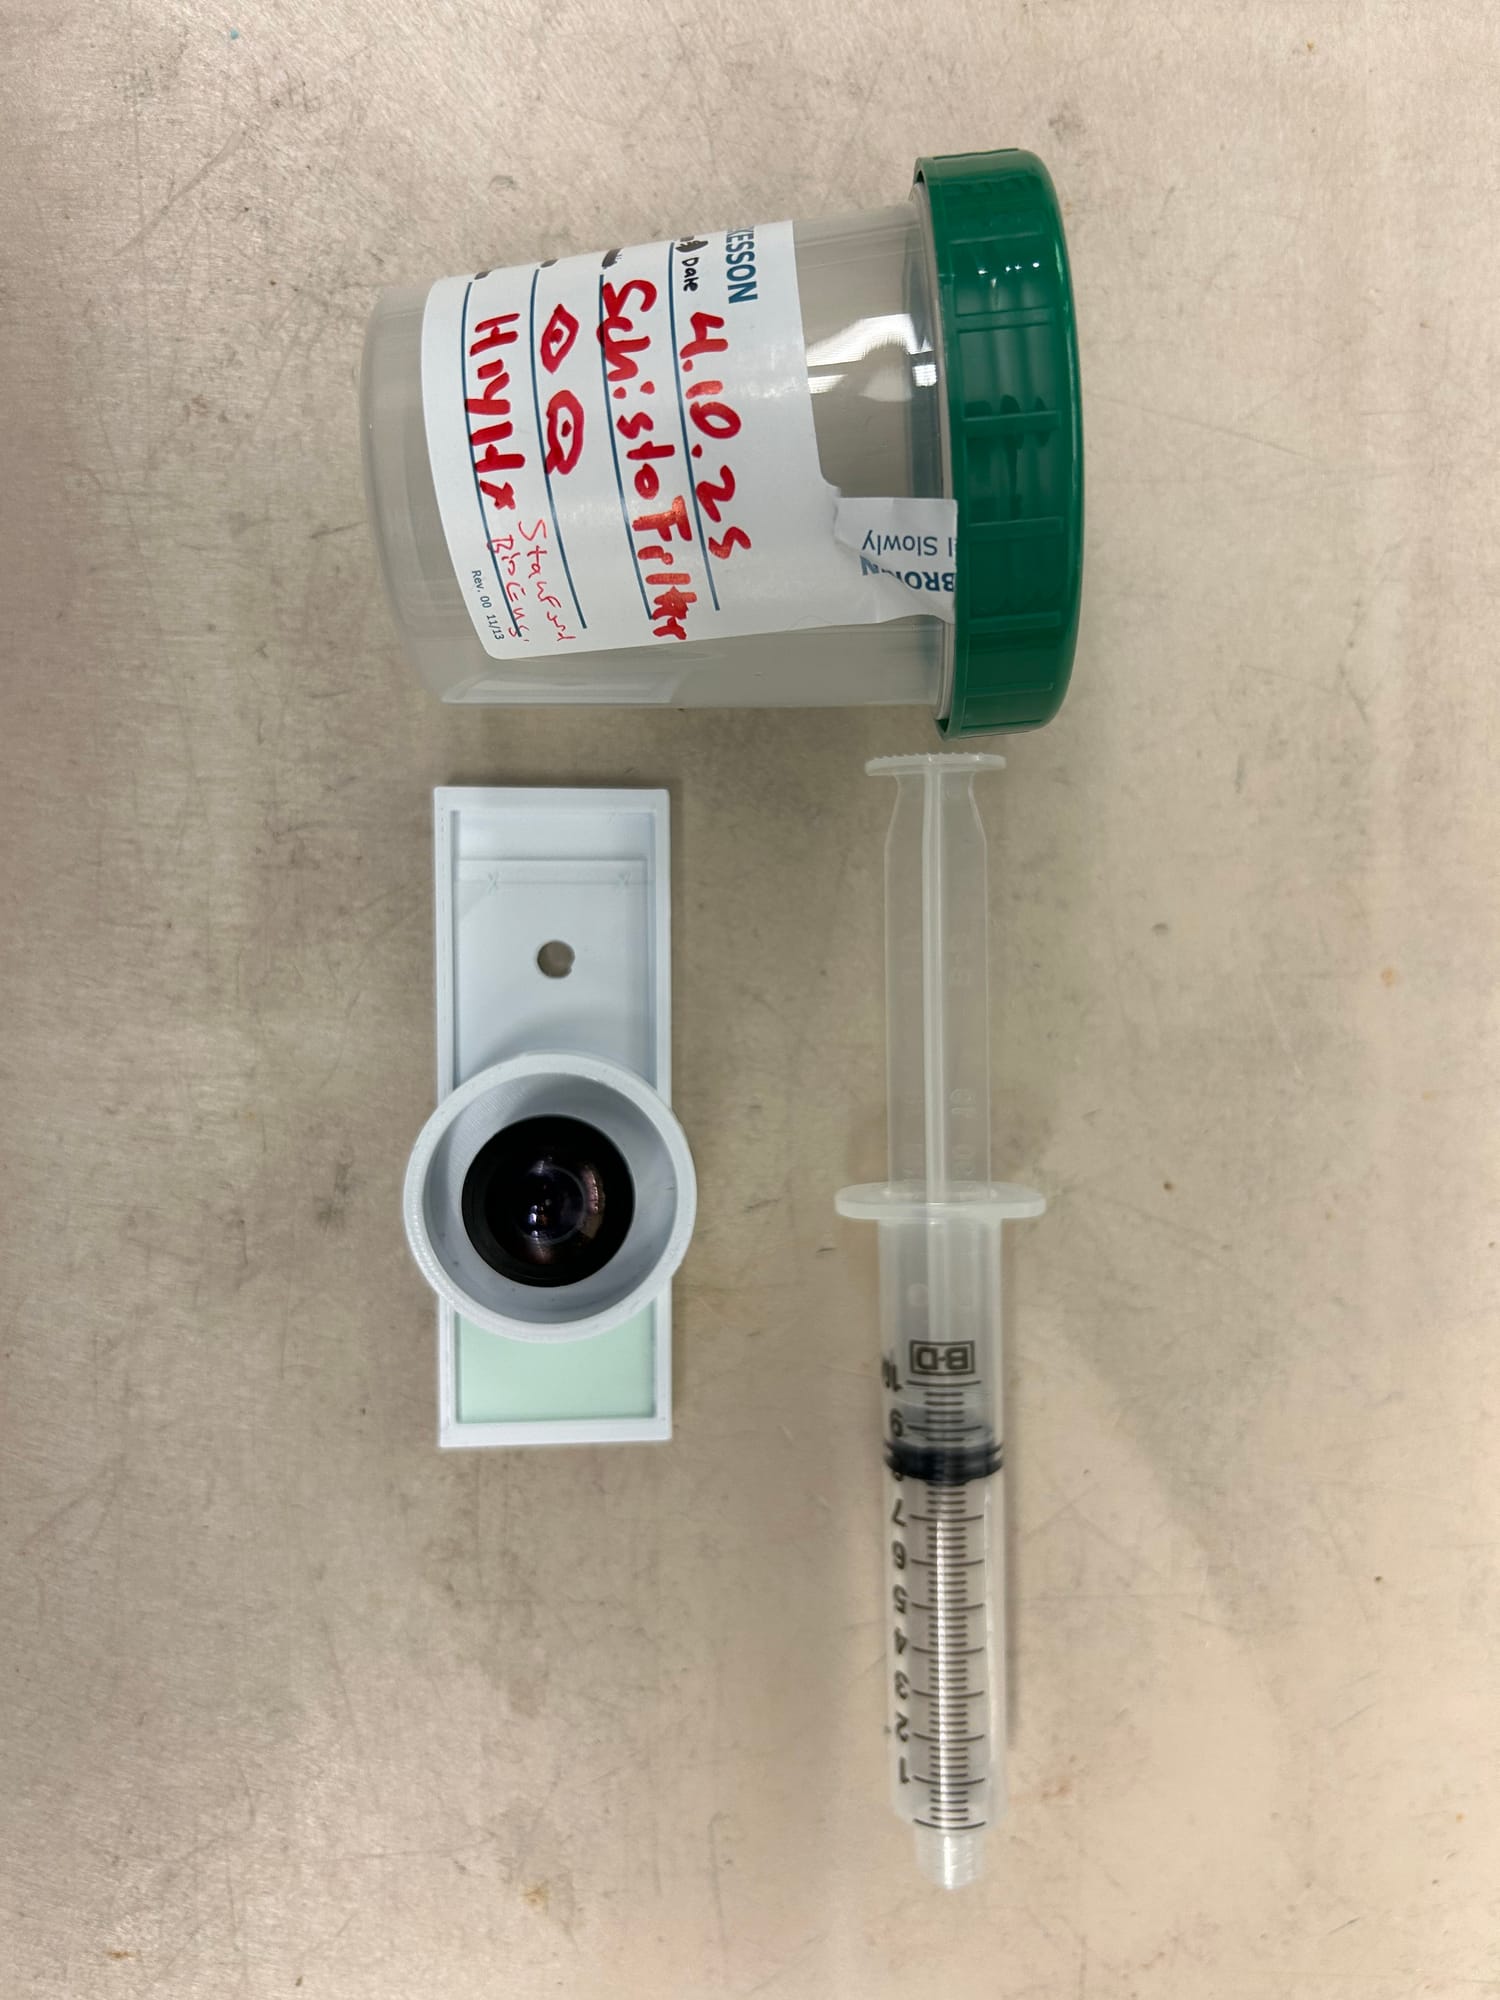
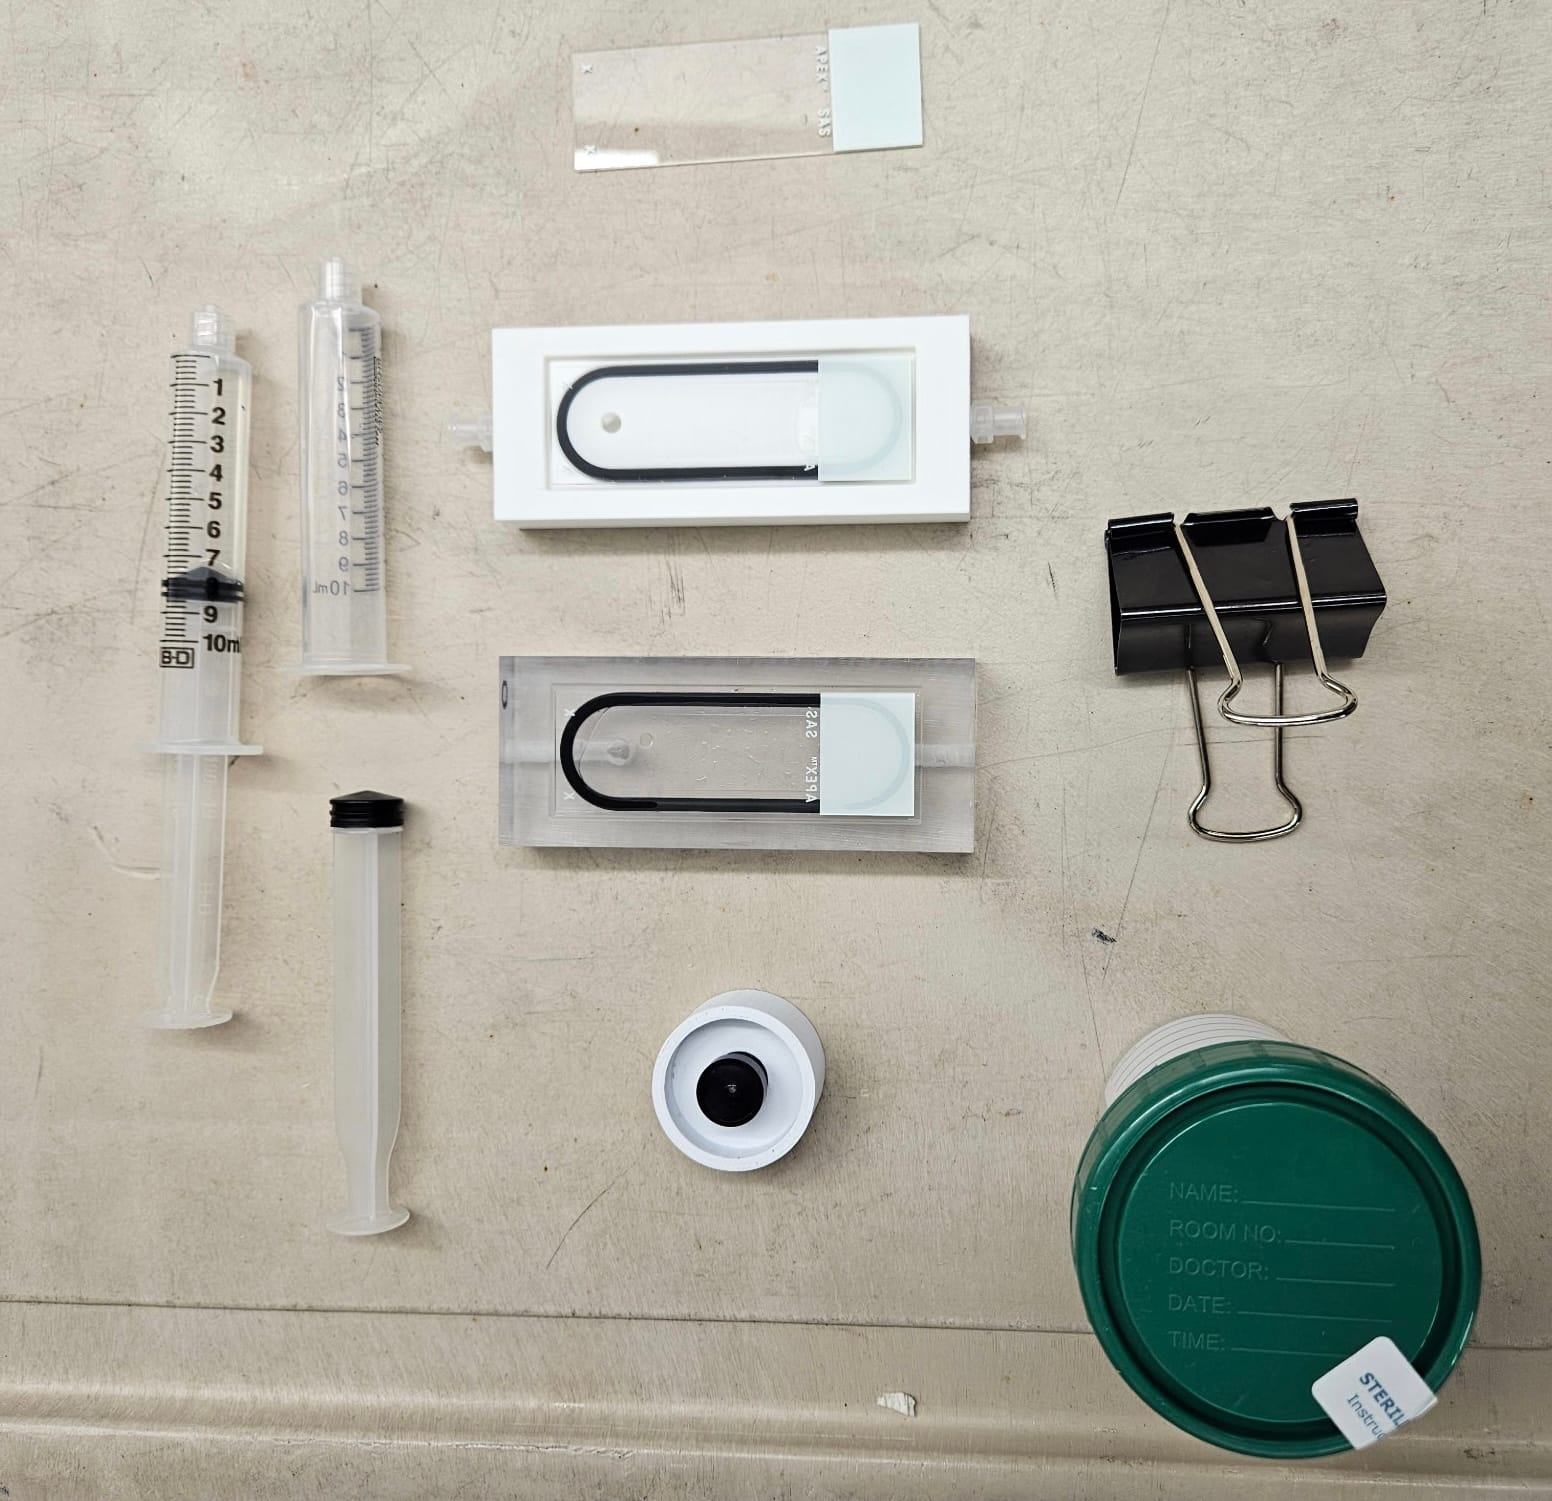
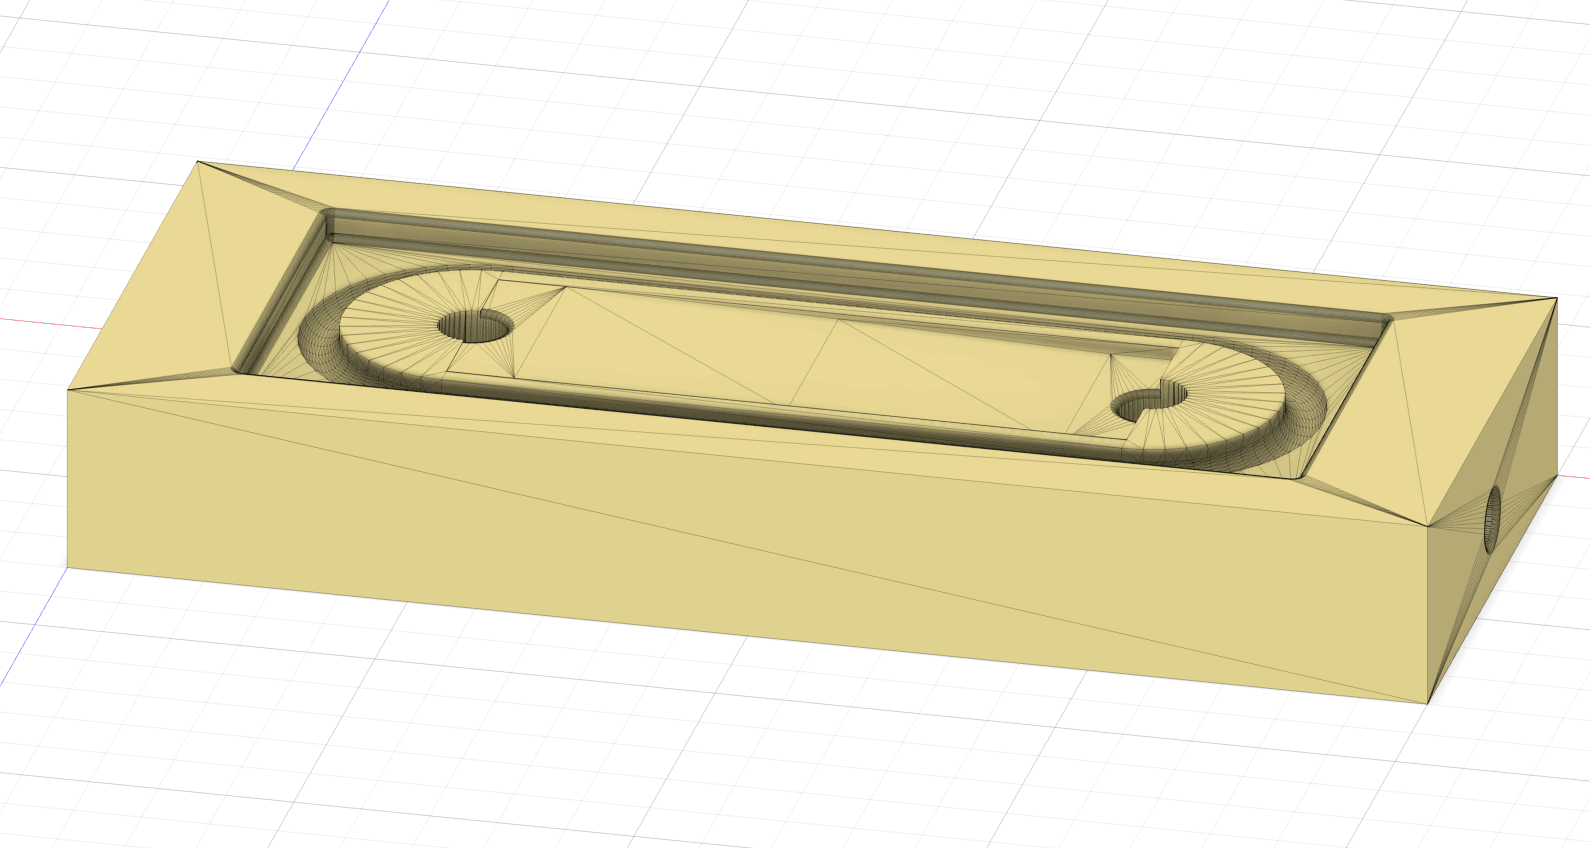
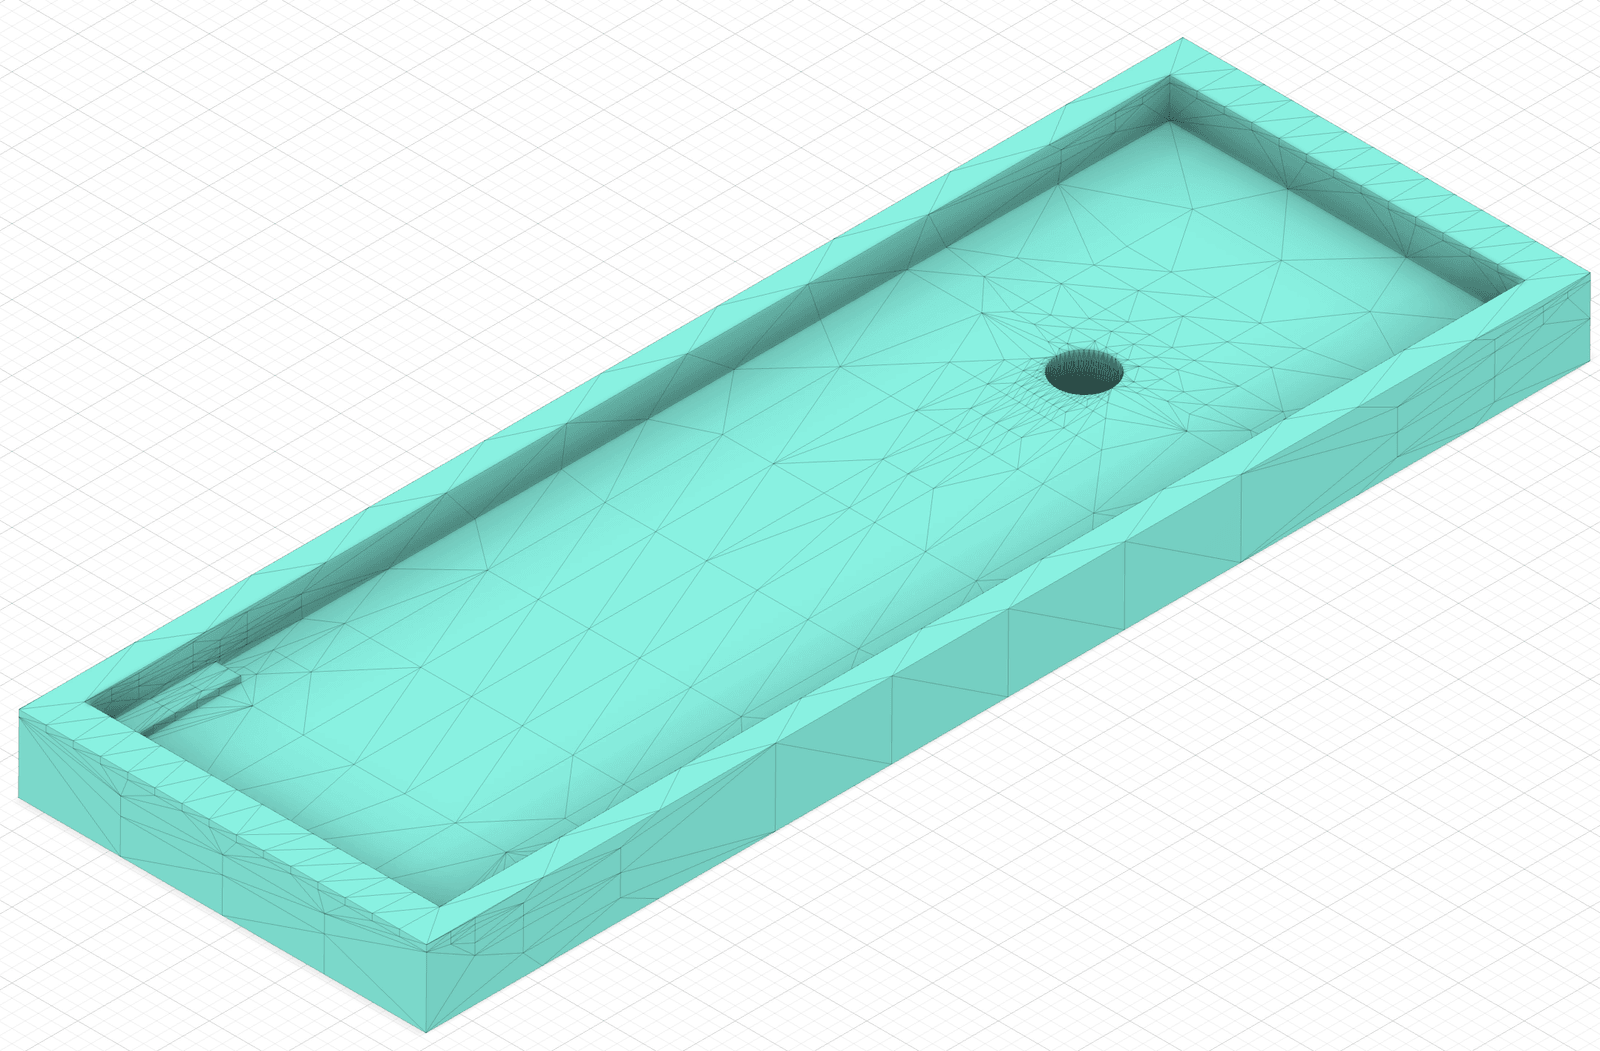
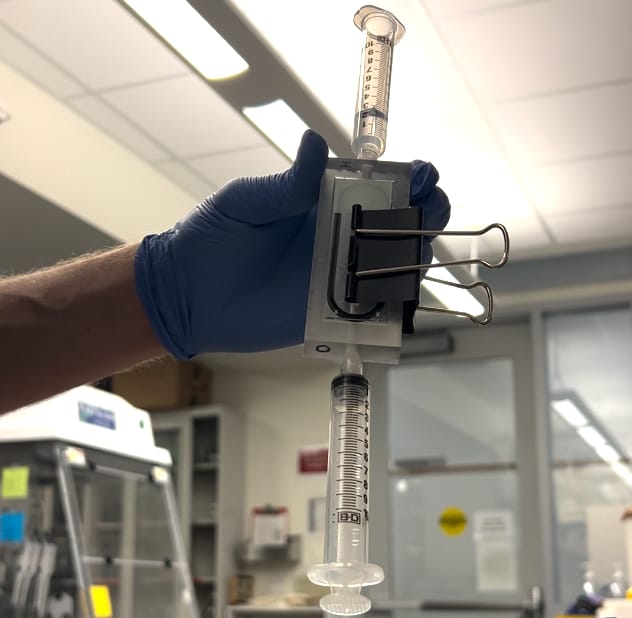
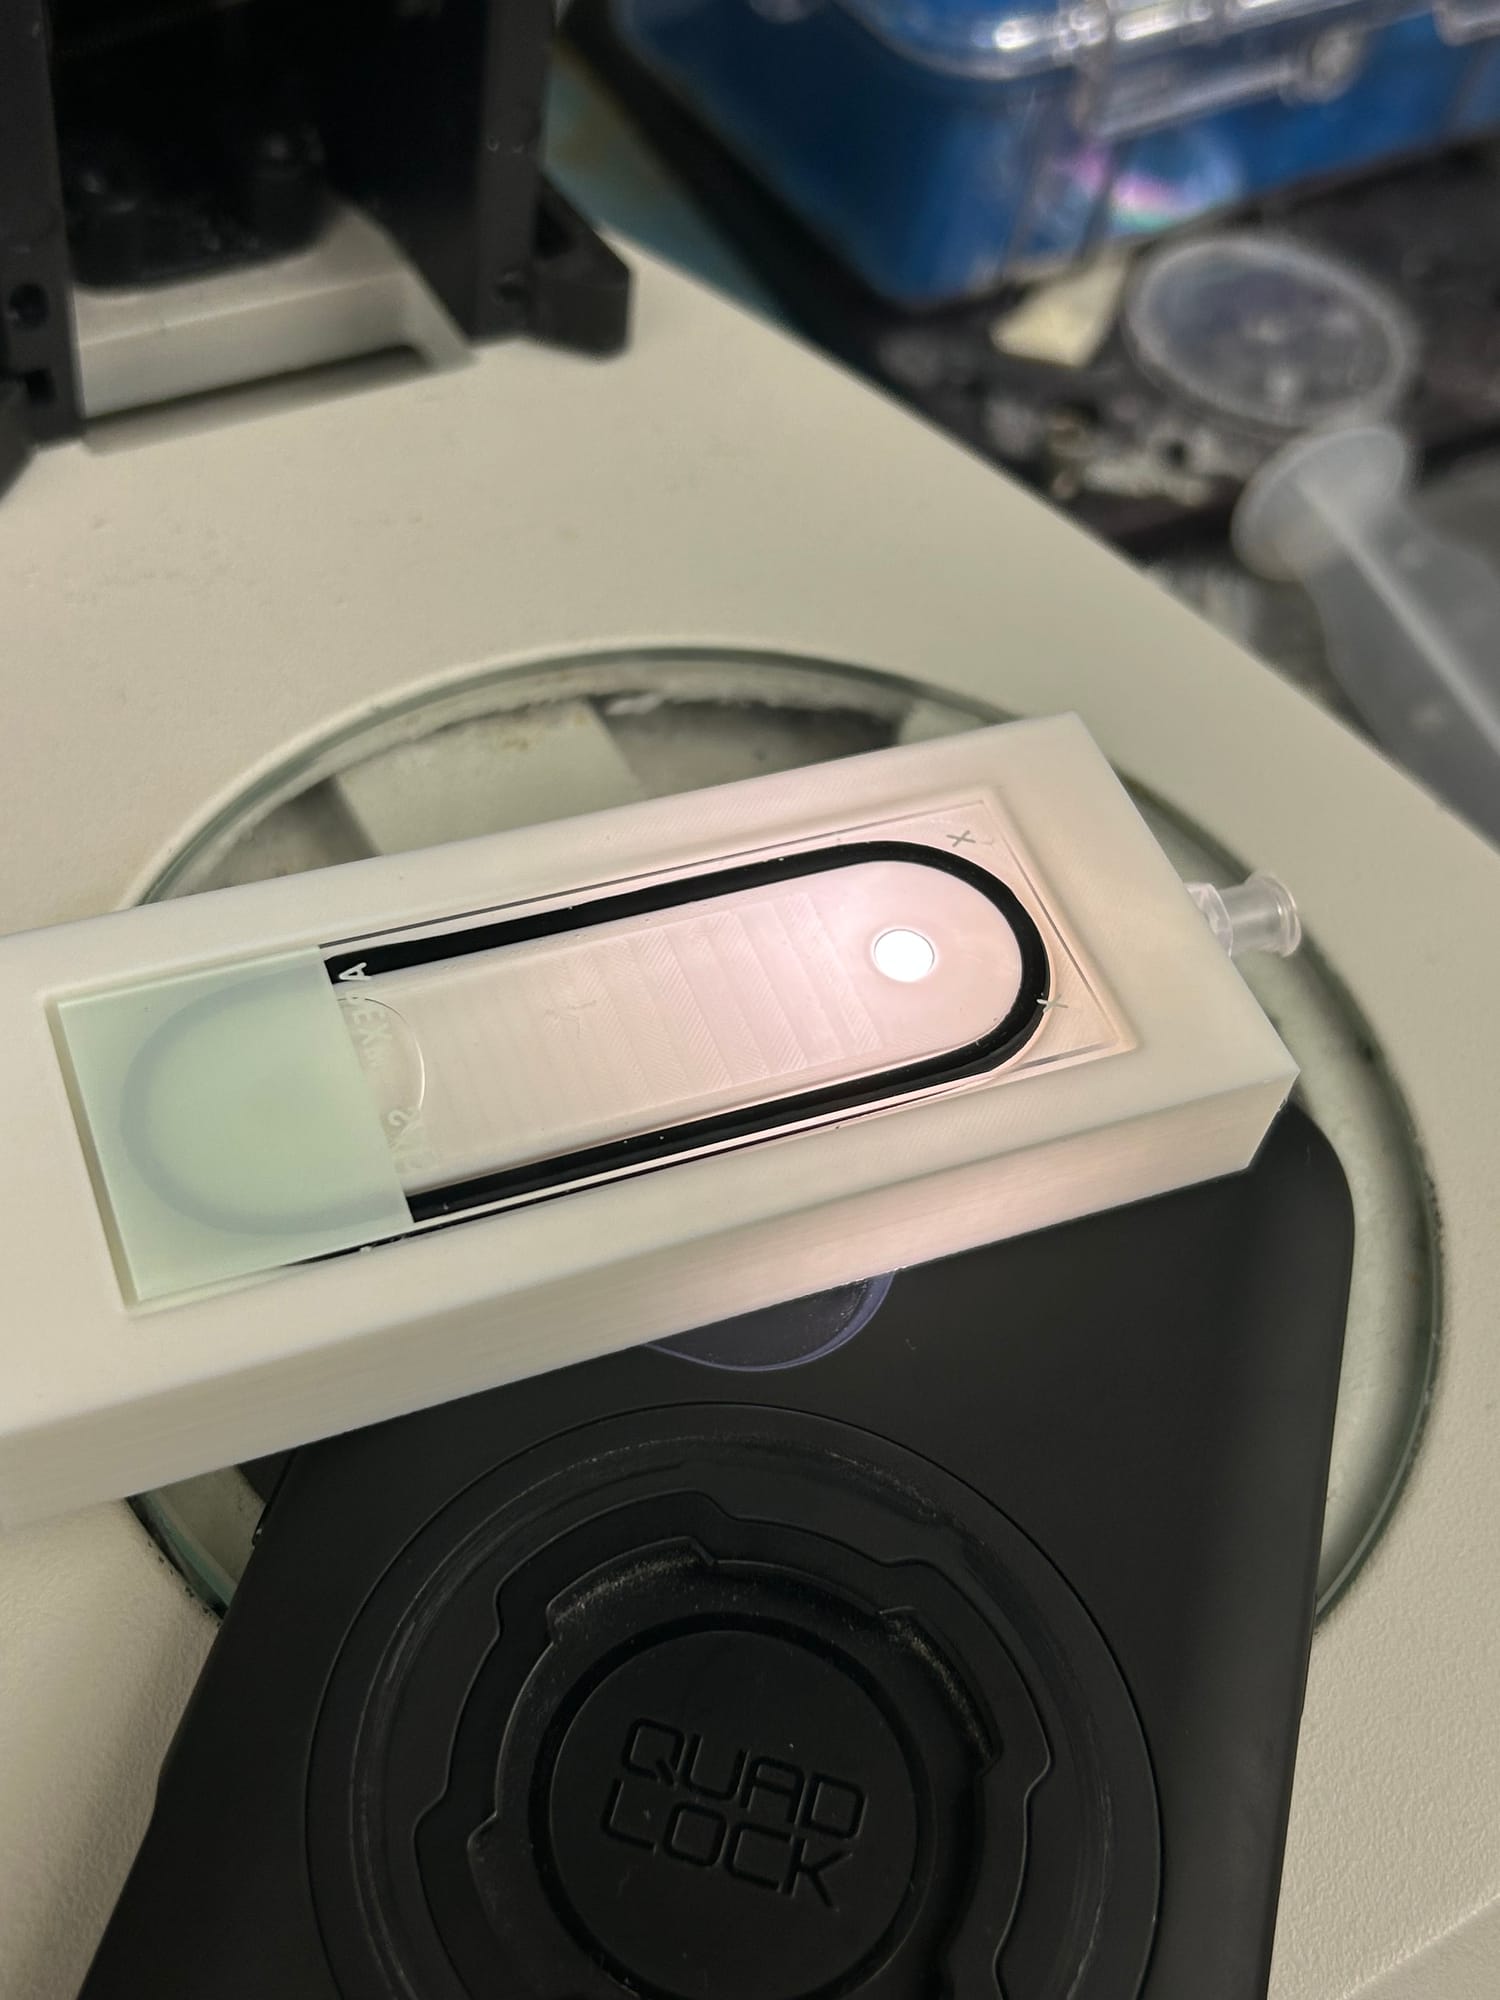
Both use standard 75 × 25 × 1 mm glass slides. The Staircase Cell seals with an O-ring (about $0.13 each from McMaster) and takes male Luer-lock connectors for 10 mL syringes ($0.65 each). A large binder clip ($0.91) held it together for now. It was slated to be replaced by a 3D-printed twist-lock, both to drop the extra part and because we weren’t sure the clip could guarantee a full seal.
Three printers, three materials
| Device | Printer | Material | What we saw |
|---|---|---|---|
| Wedge SchistoFilter | Prusa | White filament | Easy to see eggs with a flashlight for backlighting |
| Staircase Cell | Form 3 (SLA) | Clear V5 resin | Excellent visibility; the translucent base backlights eggs evenly |
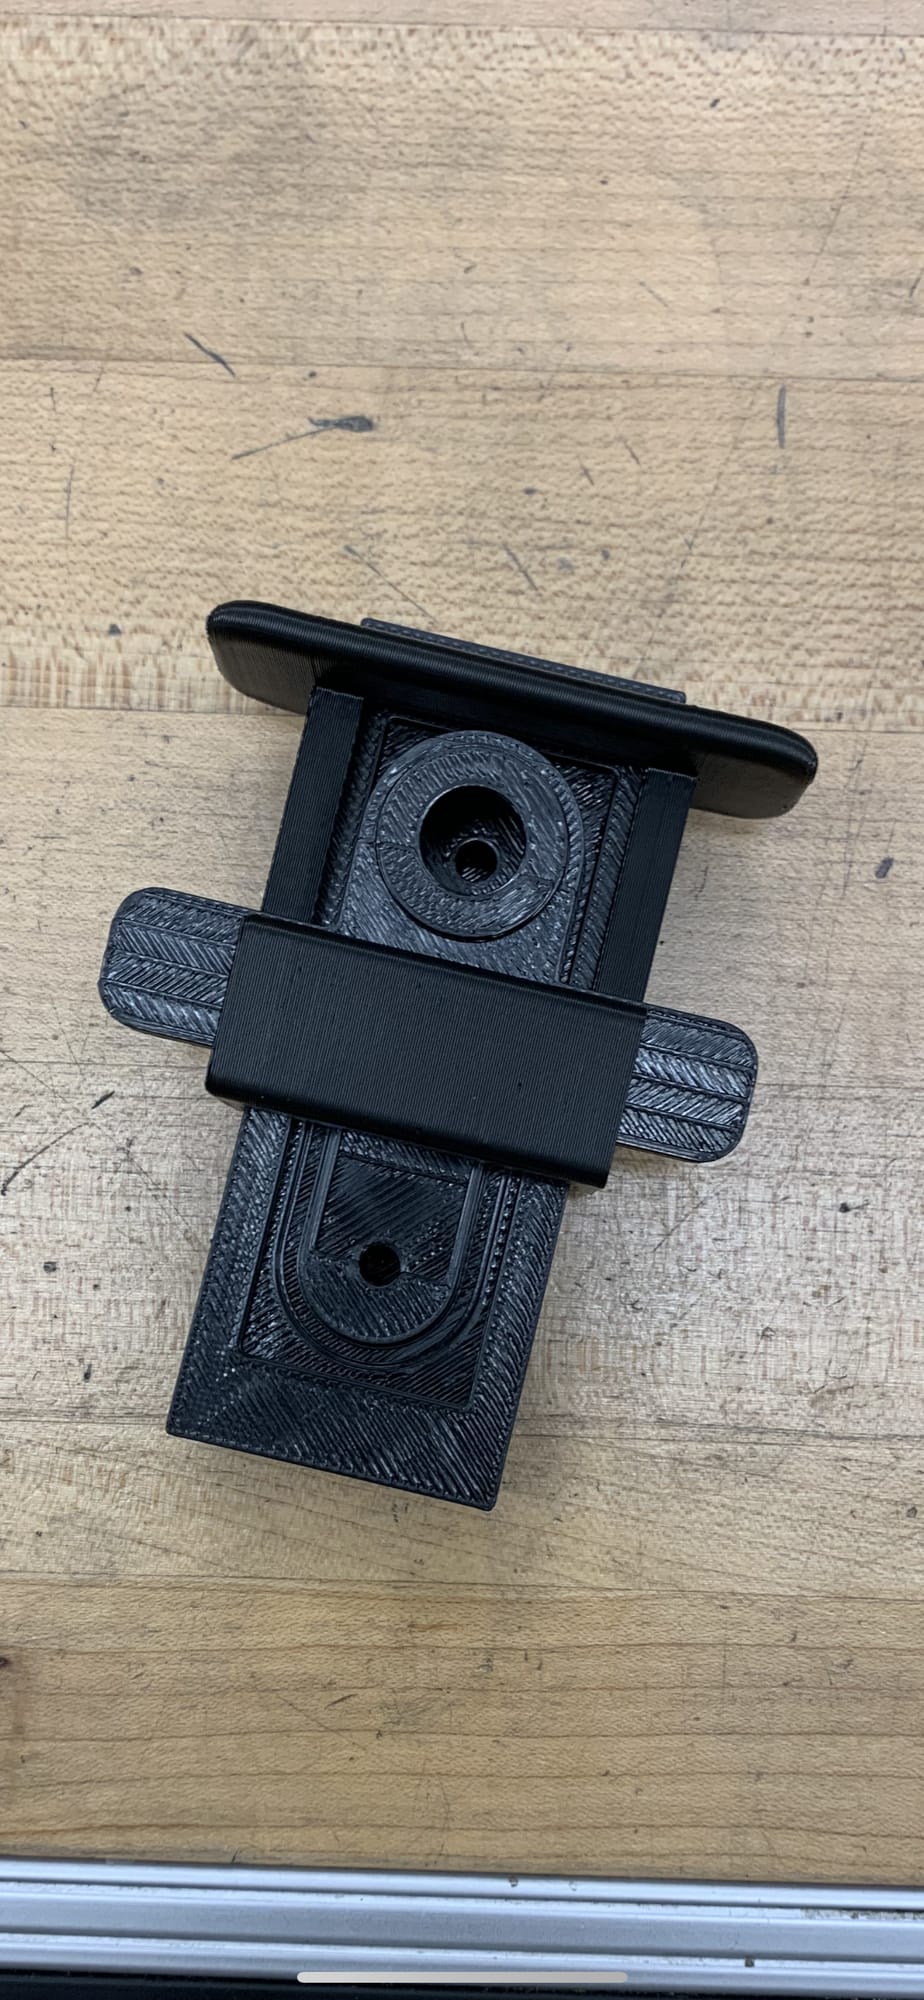
| Staircase Cell | Bambu | Black filament | Poor contrast; needed overhead or oblique lighting |
| Staircase Cell | Prusa | White filament | Moderate visibility; more light scatter than clear resin |
A $10 surveillance-camera lens
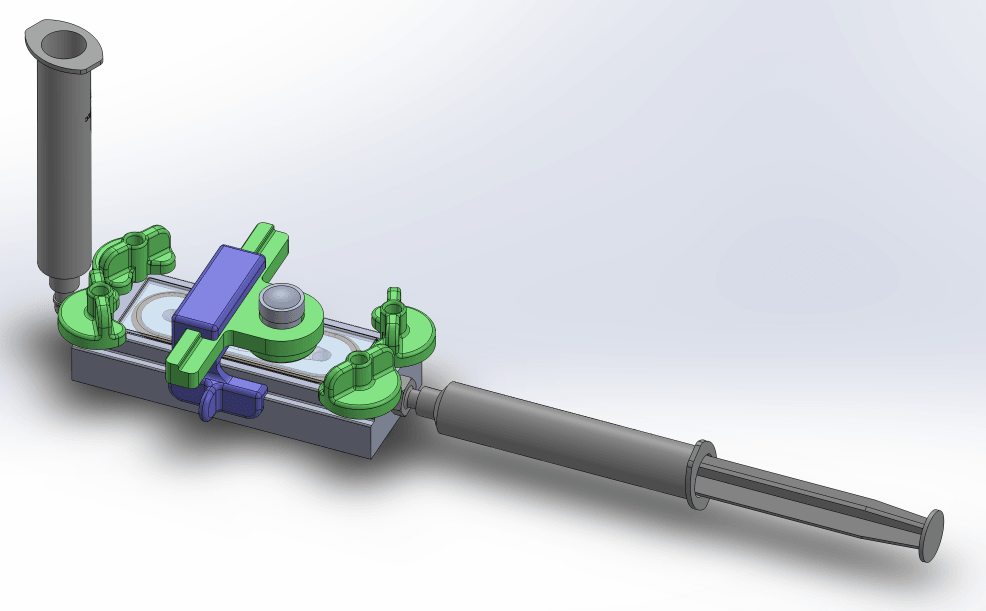
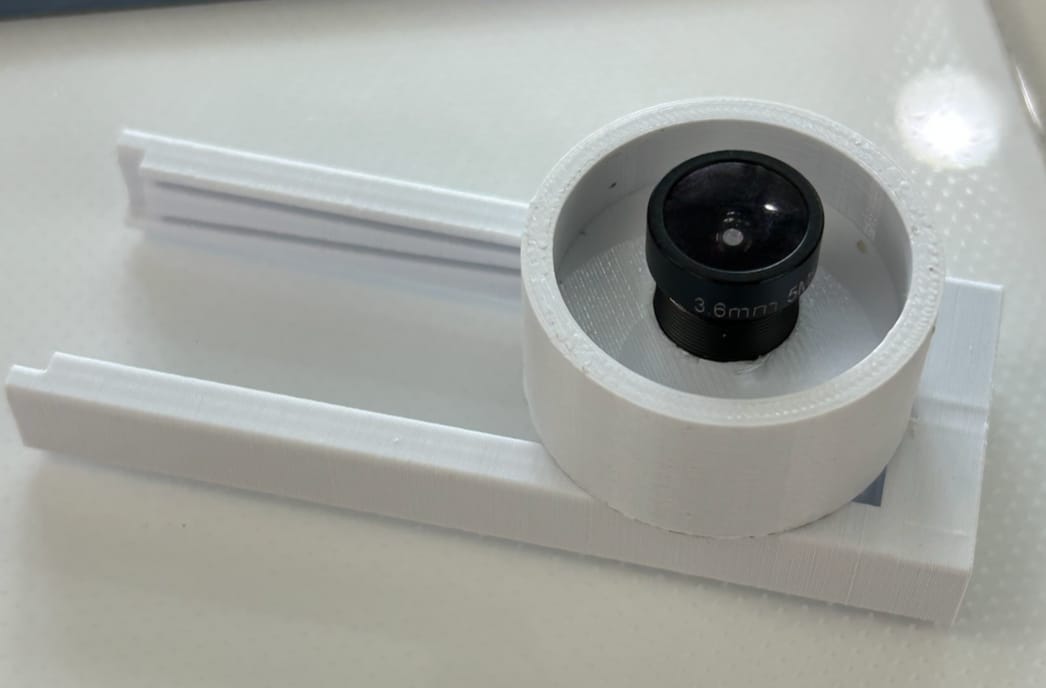
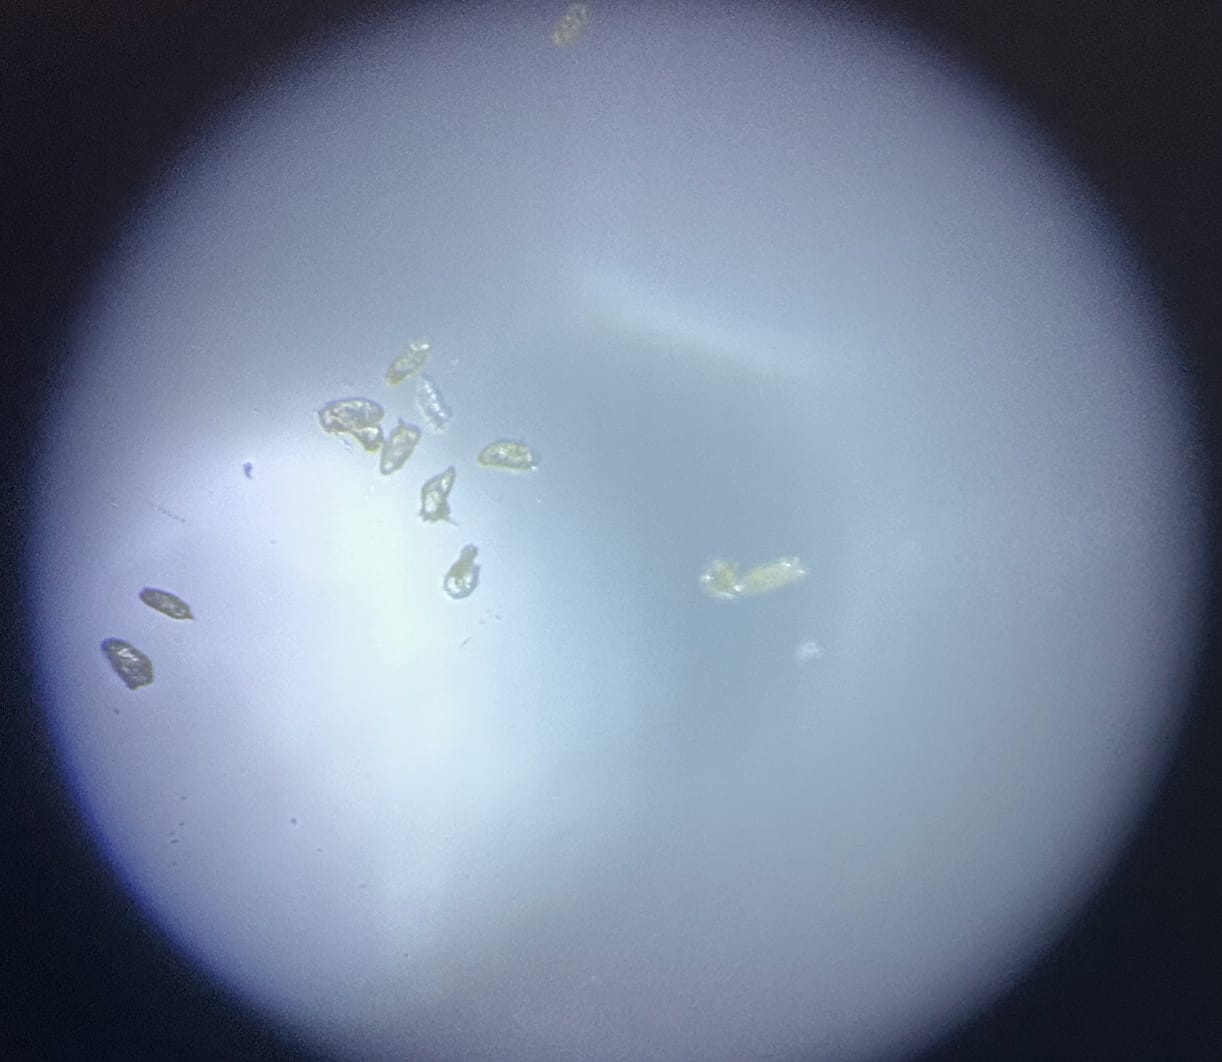
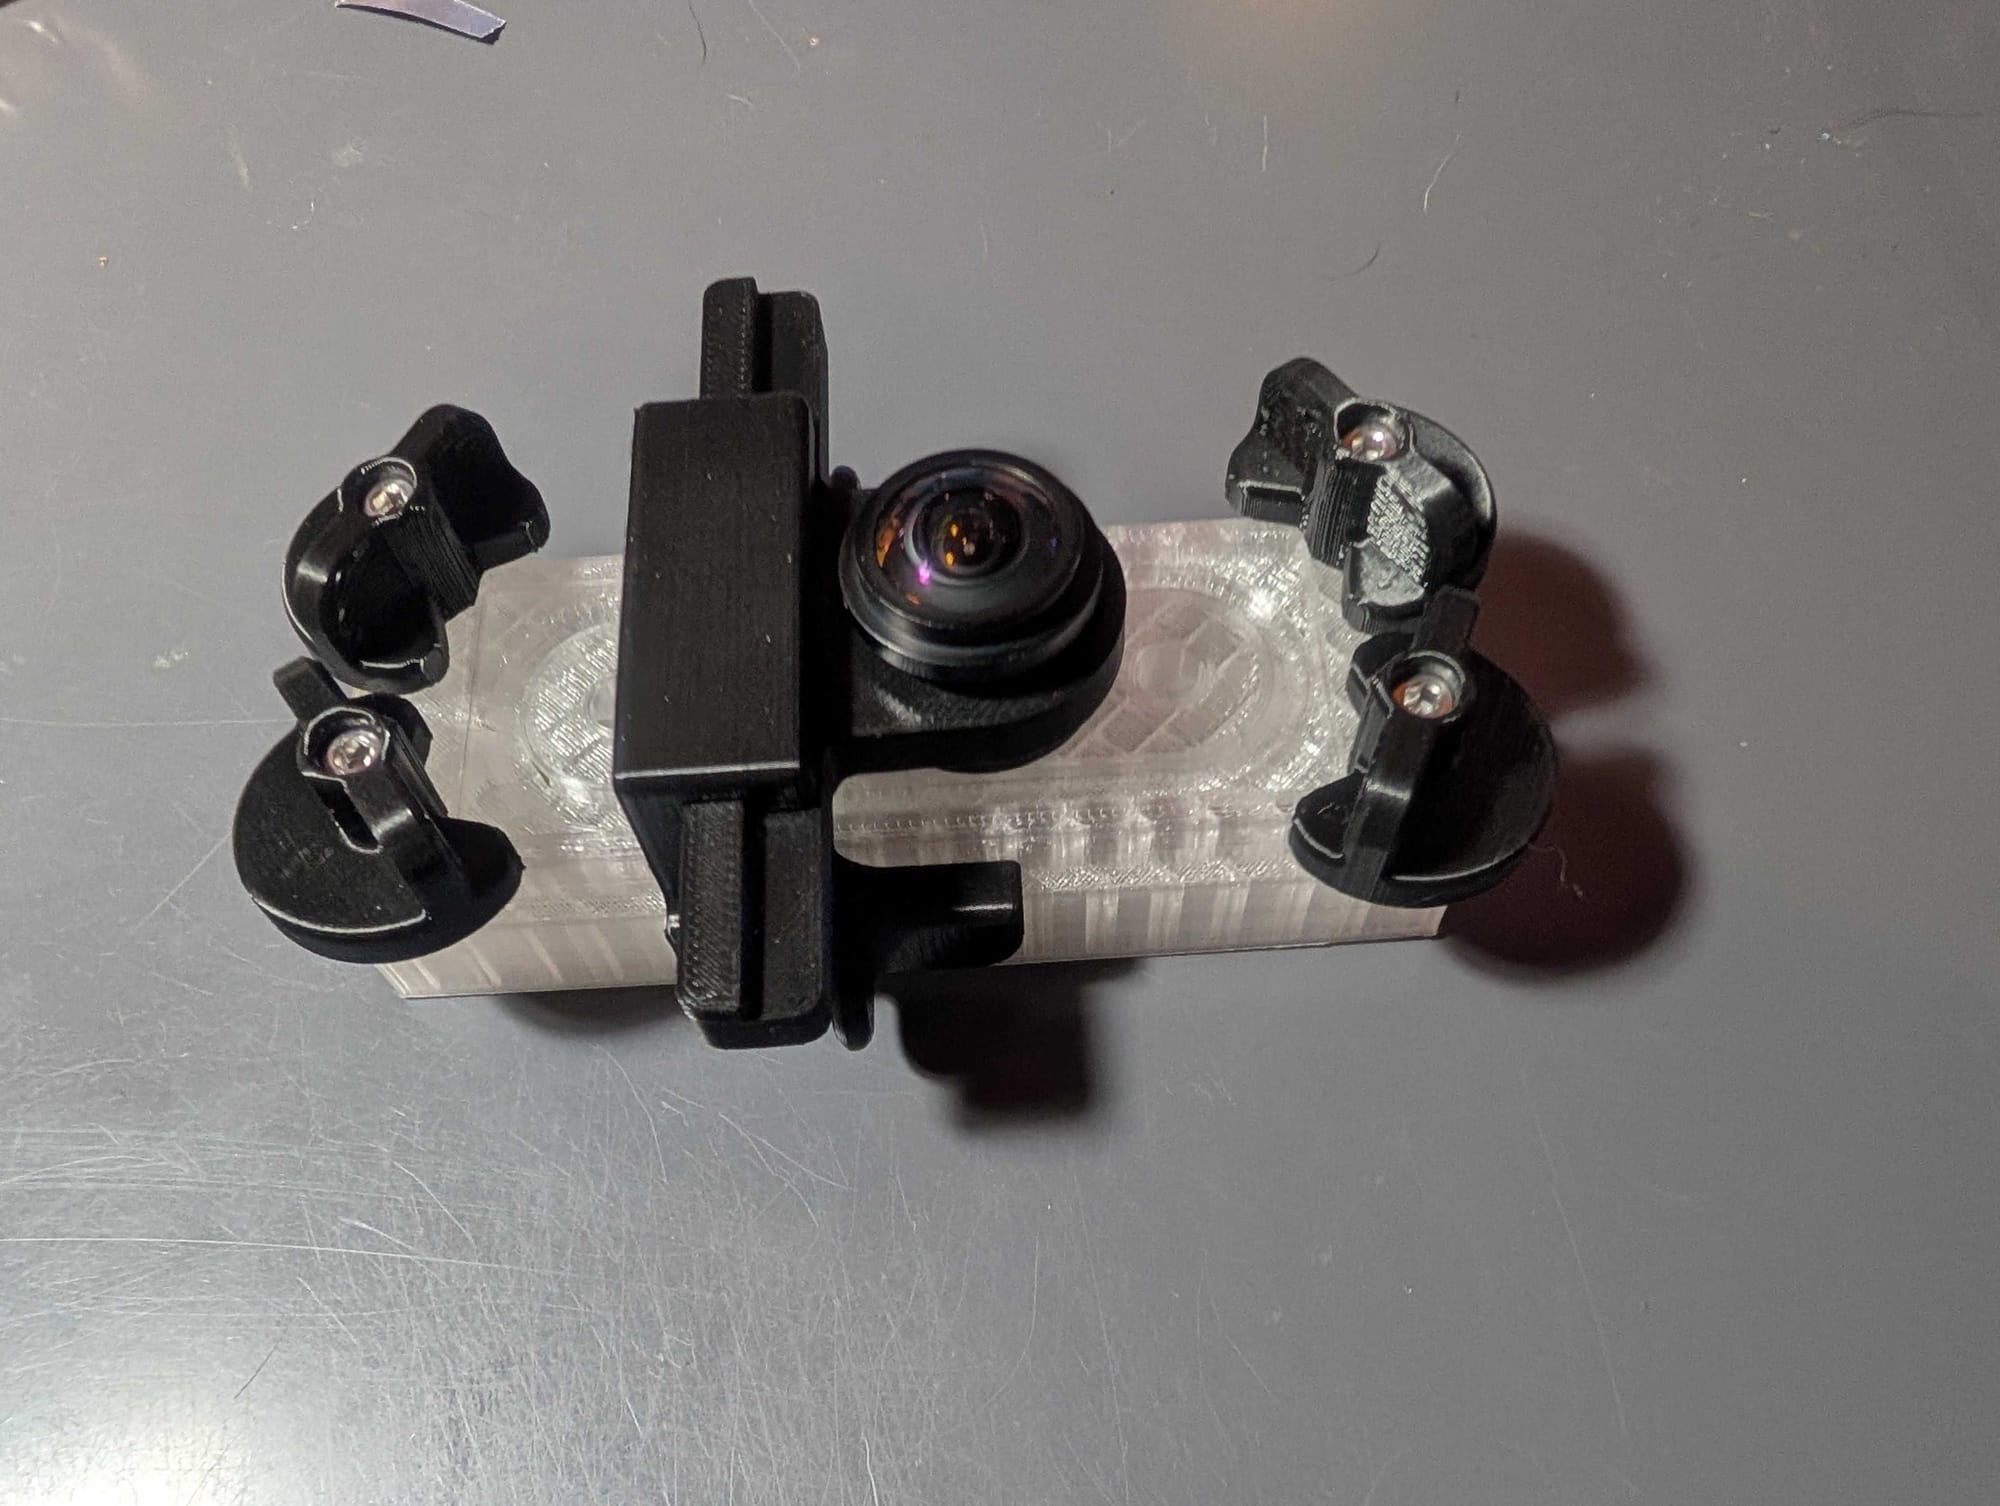
There was a catch: a Foldscope lens has a back focal length of only about 0.5 mm, too short to see through these thicker, slide-based devices. So we tried repurposed M12-format fish-eye lenses, the kind made for surveillance cameras. The best was an IR 3.6 mm, 5 MP, 1/2.5″ lens, which offered a longer working distance, a wide field of view, and compatibility with smartphones. We housed the lenses in 3D-printed mounts, on an X–Y slider stage modeled after the Foldscope’s own navigation.
Flow, and what we could see
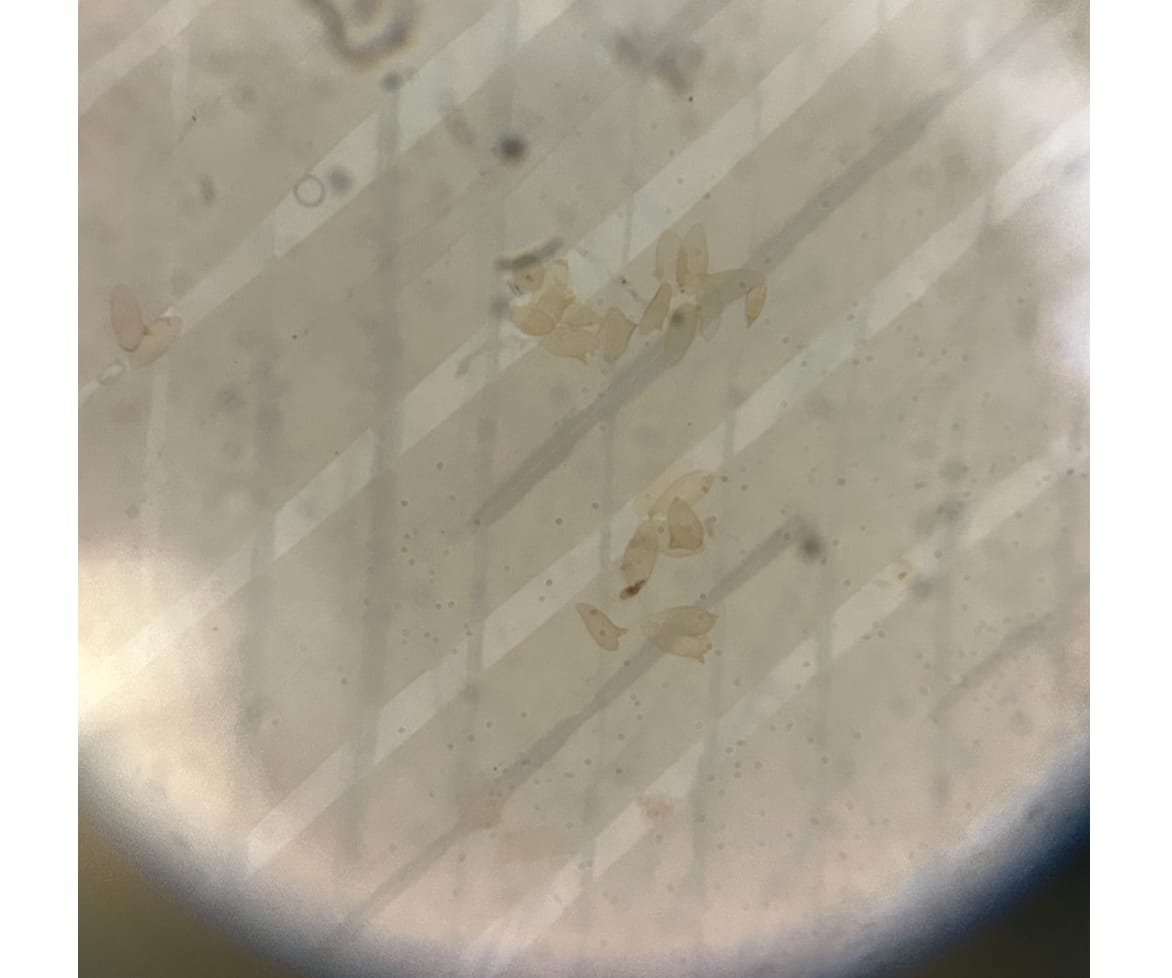
Flow. Flow through the wedge was smooth, but gravity-driven, so it was slow: a full 10 mL urine sample would take about ten minutes, too long to be practical. We discussed adding a Luer port underneath to pull fluid through with negative pressure, and built an offset slant into the next design. The Staircase Cell performed well — as long as the O-ring kept its seal.
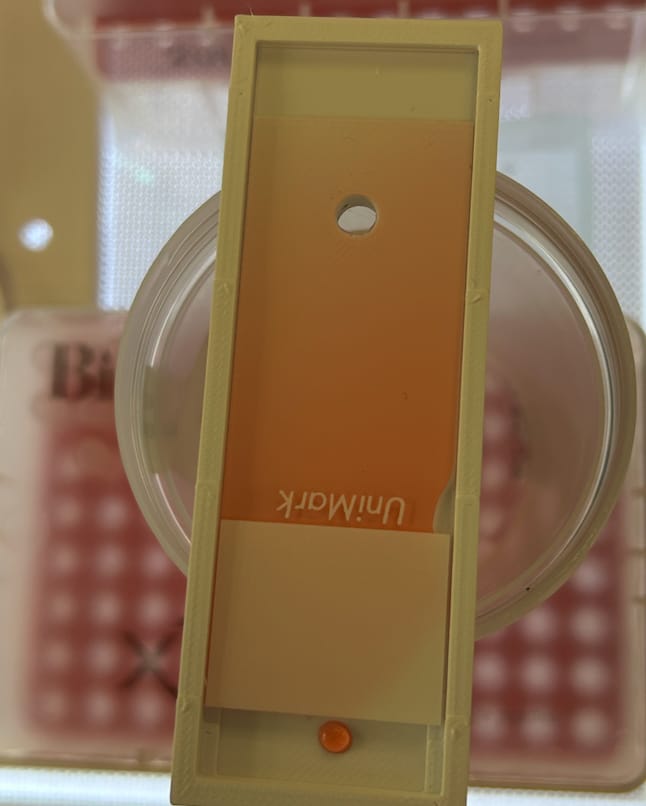
Visibility. We checked how well S. haematobium and S. mansoni eggs showed up across materials and lighting. Clear resin gave optimal light transmission and contrast (★★★★★). White filament worked well with strong backlighting, like a phone flashlight under the device (★★★★☆). Black filament hid the fairly translucent eggs unless we lit them from an angle (★★☆☆☆). One fix for next time: thin out the base of the Staircase Cell so more light gets through, possibly removing the need for clear material at all.
Under 60 cents a test
A key advantage: almost nothing gets thrown away. Each test uses only a standard microscope slide and one or two syringes; everything else is durable and reusable. We printed on Prusa i3 MK3S+ printers on purpose: they’re in makerspaces, universities, and labs everywhere, a realistic backbone for distributed manufacturing, especially in urban centers across the Global South.
Commercial filtration kit
- Per test
- About $1.20 — single-use membrane filters
- Upfront
- ~$600 for 500 tests, plus a $500+ light microscope that needs stable power
- Workflow
- Forceps and extra steps to move the filter onto a slide
Wedge or Staircase
- Per test
- Under $0.60 — the slide is the only expendable
- Upfront
- A ~$10–18 lens and a $0.50–2 print; the phone you already have
- Workflow
- Filter and image on the same slide
A week later: the full assembly
Days after we got home, Jim sent an update: the full device, printed on an accessible Prusa, with a low-cost M12 fish-eye lens ($5–10), an X–Y slider, and clamps to hold the seal. Fluid is drawn through with syringes, and eggs get trapped in the tiny gap between the device and a $0.50 glass slide. Phil also printed Anesta’s three latest wedge designs, which rely on the angle of the glass slide to catch eggs. Next: filtering known quantities of eggs and counting how many get trapped, aiming for at least 90%, with S. mansoni thanks to Dr. Jayhun Lee and Sabona Simbassa, and S. haematobium thanks to Dr. Brian Graham’s lab. (Here’s how that went.)
On the list
Thinner bases
Better light transmission through the Staircase Cell.
No binder clip
An integrated twist-lock mechanism instead.
Open source
An STL repository of device, lens, and slider designs, shared openly for continued development.
The field
Evaluate performance in the summer pilot study.
Thank you to Manu, Jim, and Anesta for your guidance, and to the whole Prakash Lab for hosting us.
Sources & further reading
- Xiao Y, Lu Y, Hsieh M, Liao J, Wong PK. A microfiltration device for urogenital schistosomiasis diagnostics. PLoS ONE. 2016;11(4):e0154640. doi.org ↗
- Byagathvalli G, et al. Frugal science powered by curiosity. 2021.
- Prusa Research — about the Prusa print farm. prusa3d.com ↗
Paper, binder clips, and a camera lens
Most of these prototypes didn’t make the final cut — and that’s the point. Thank you for funding the experiments that showed us the simpler way.